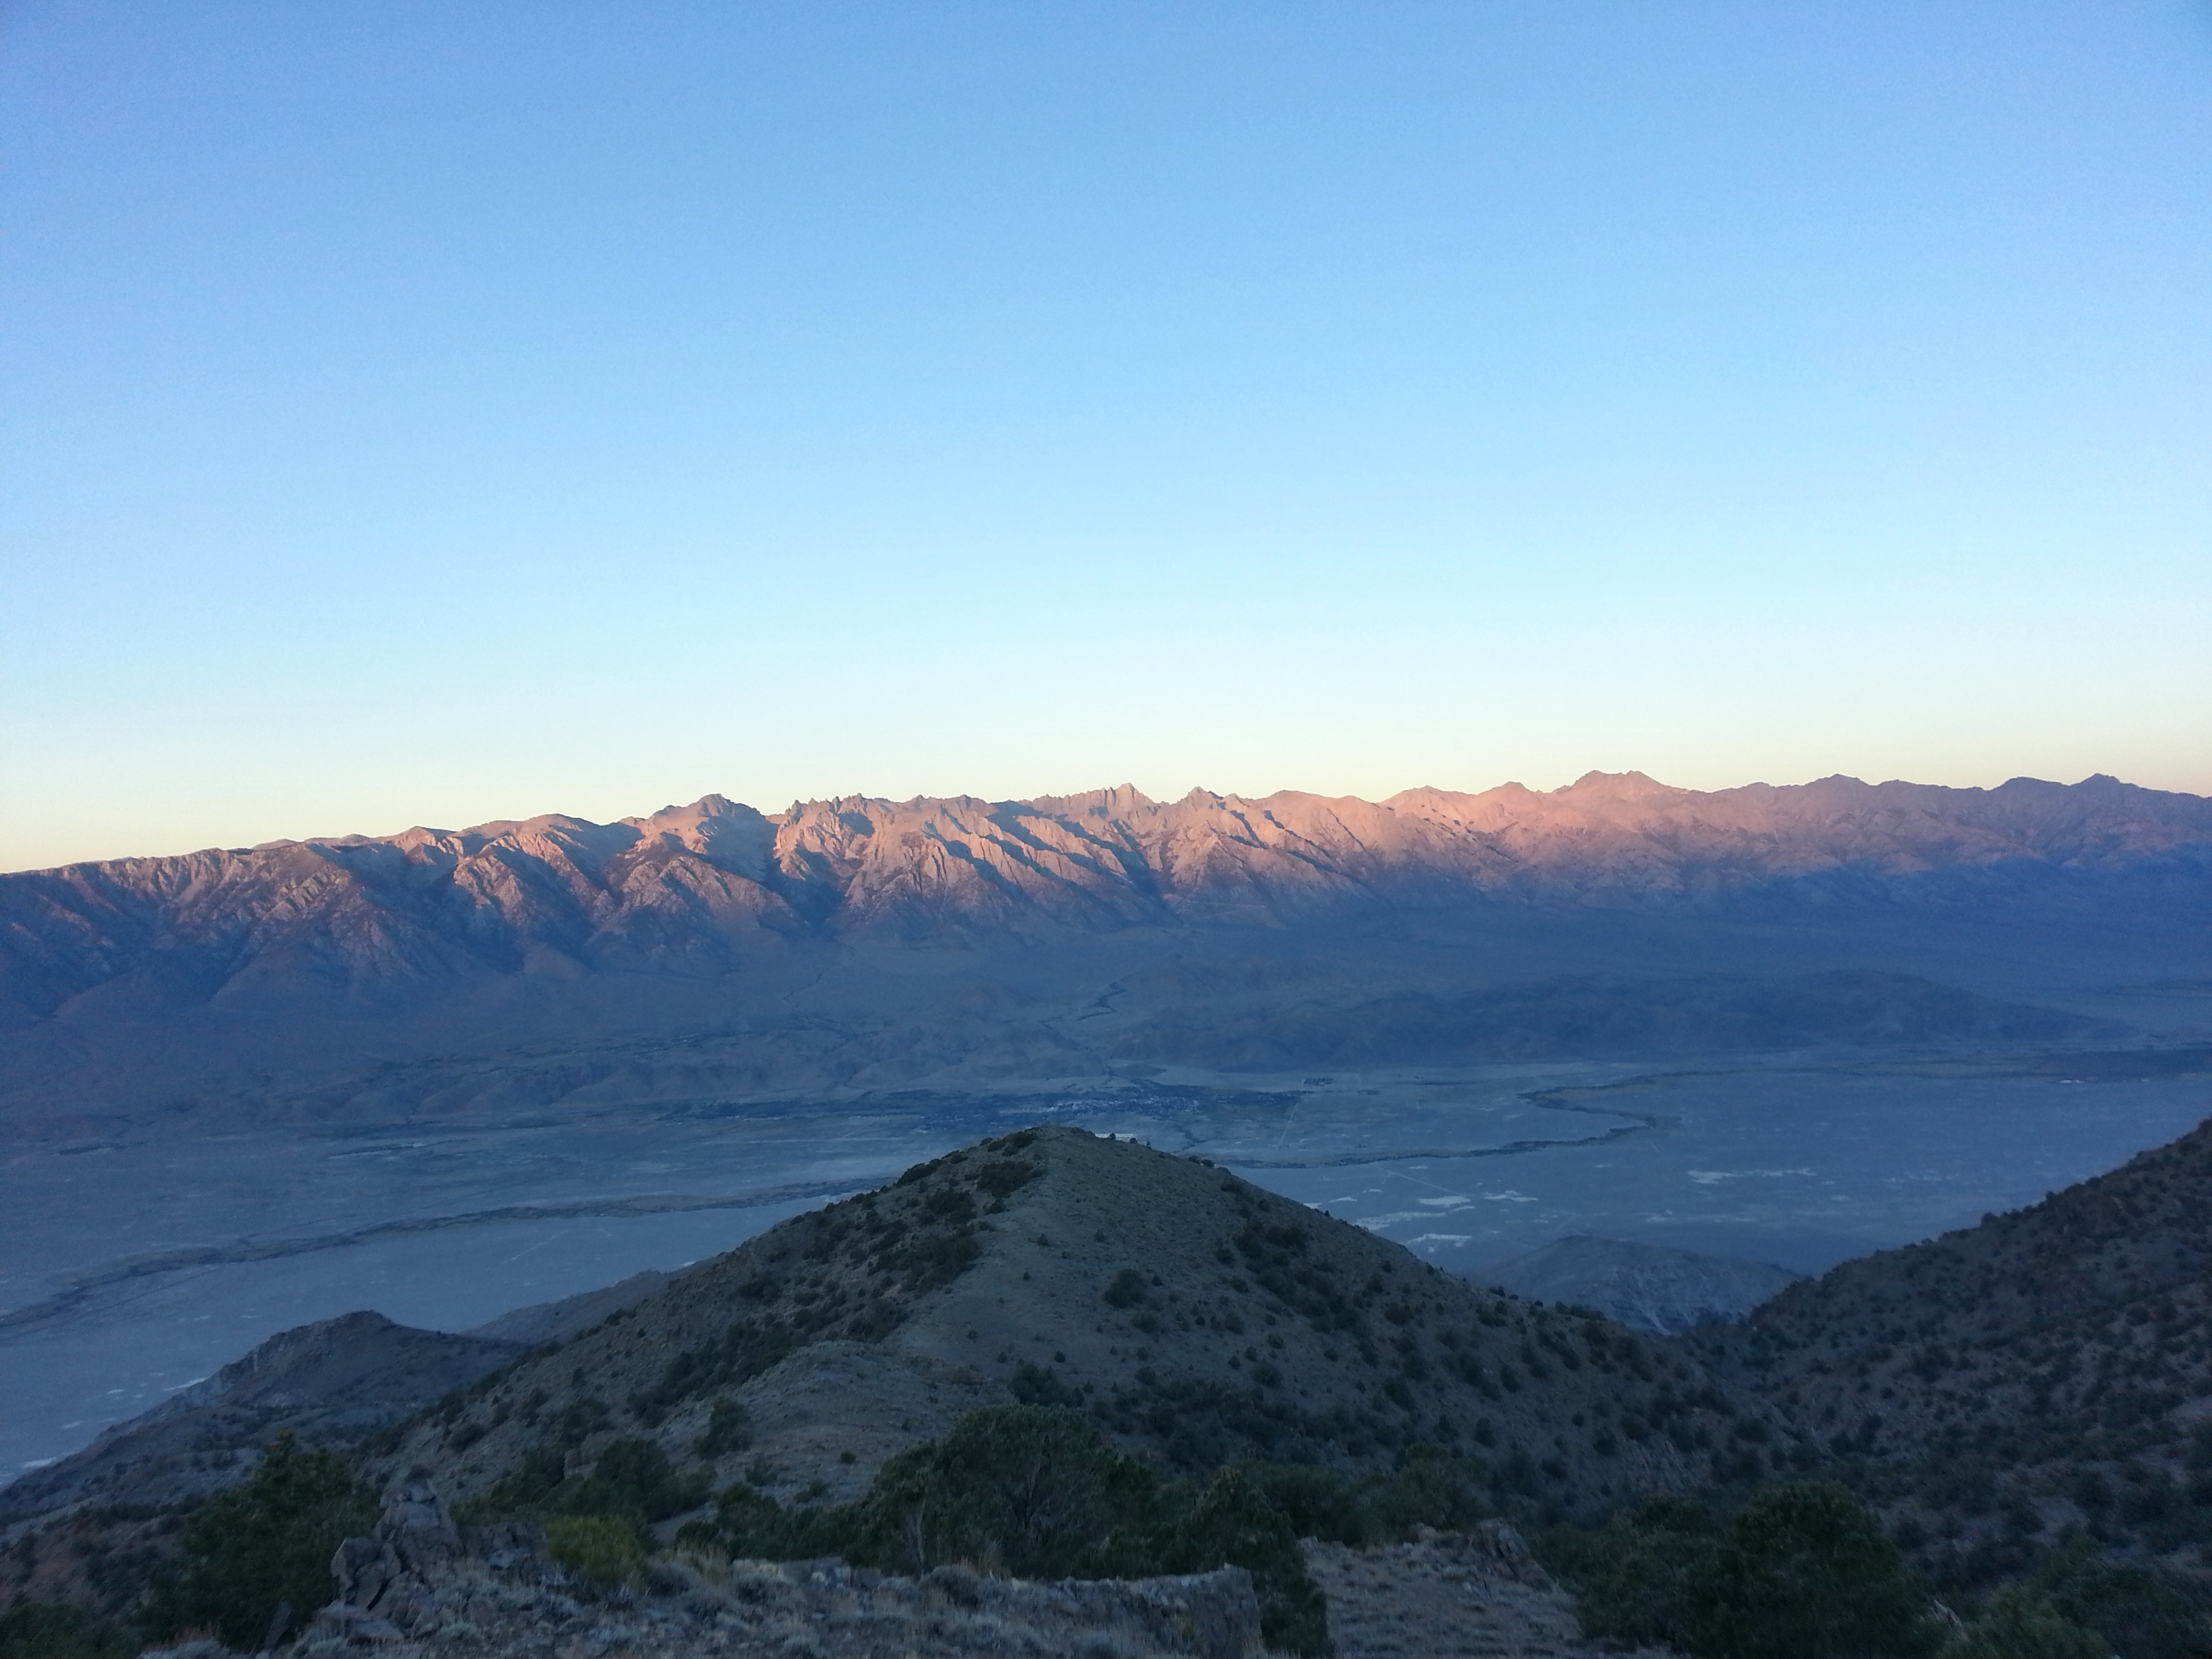
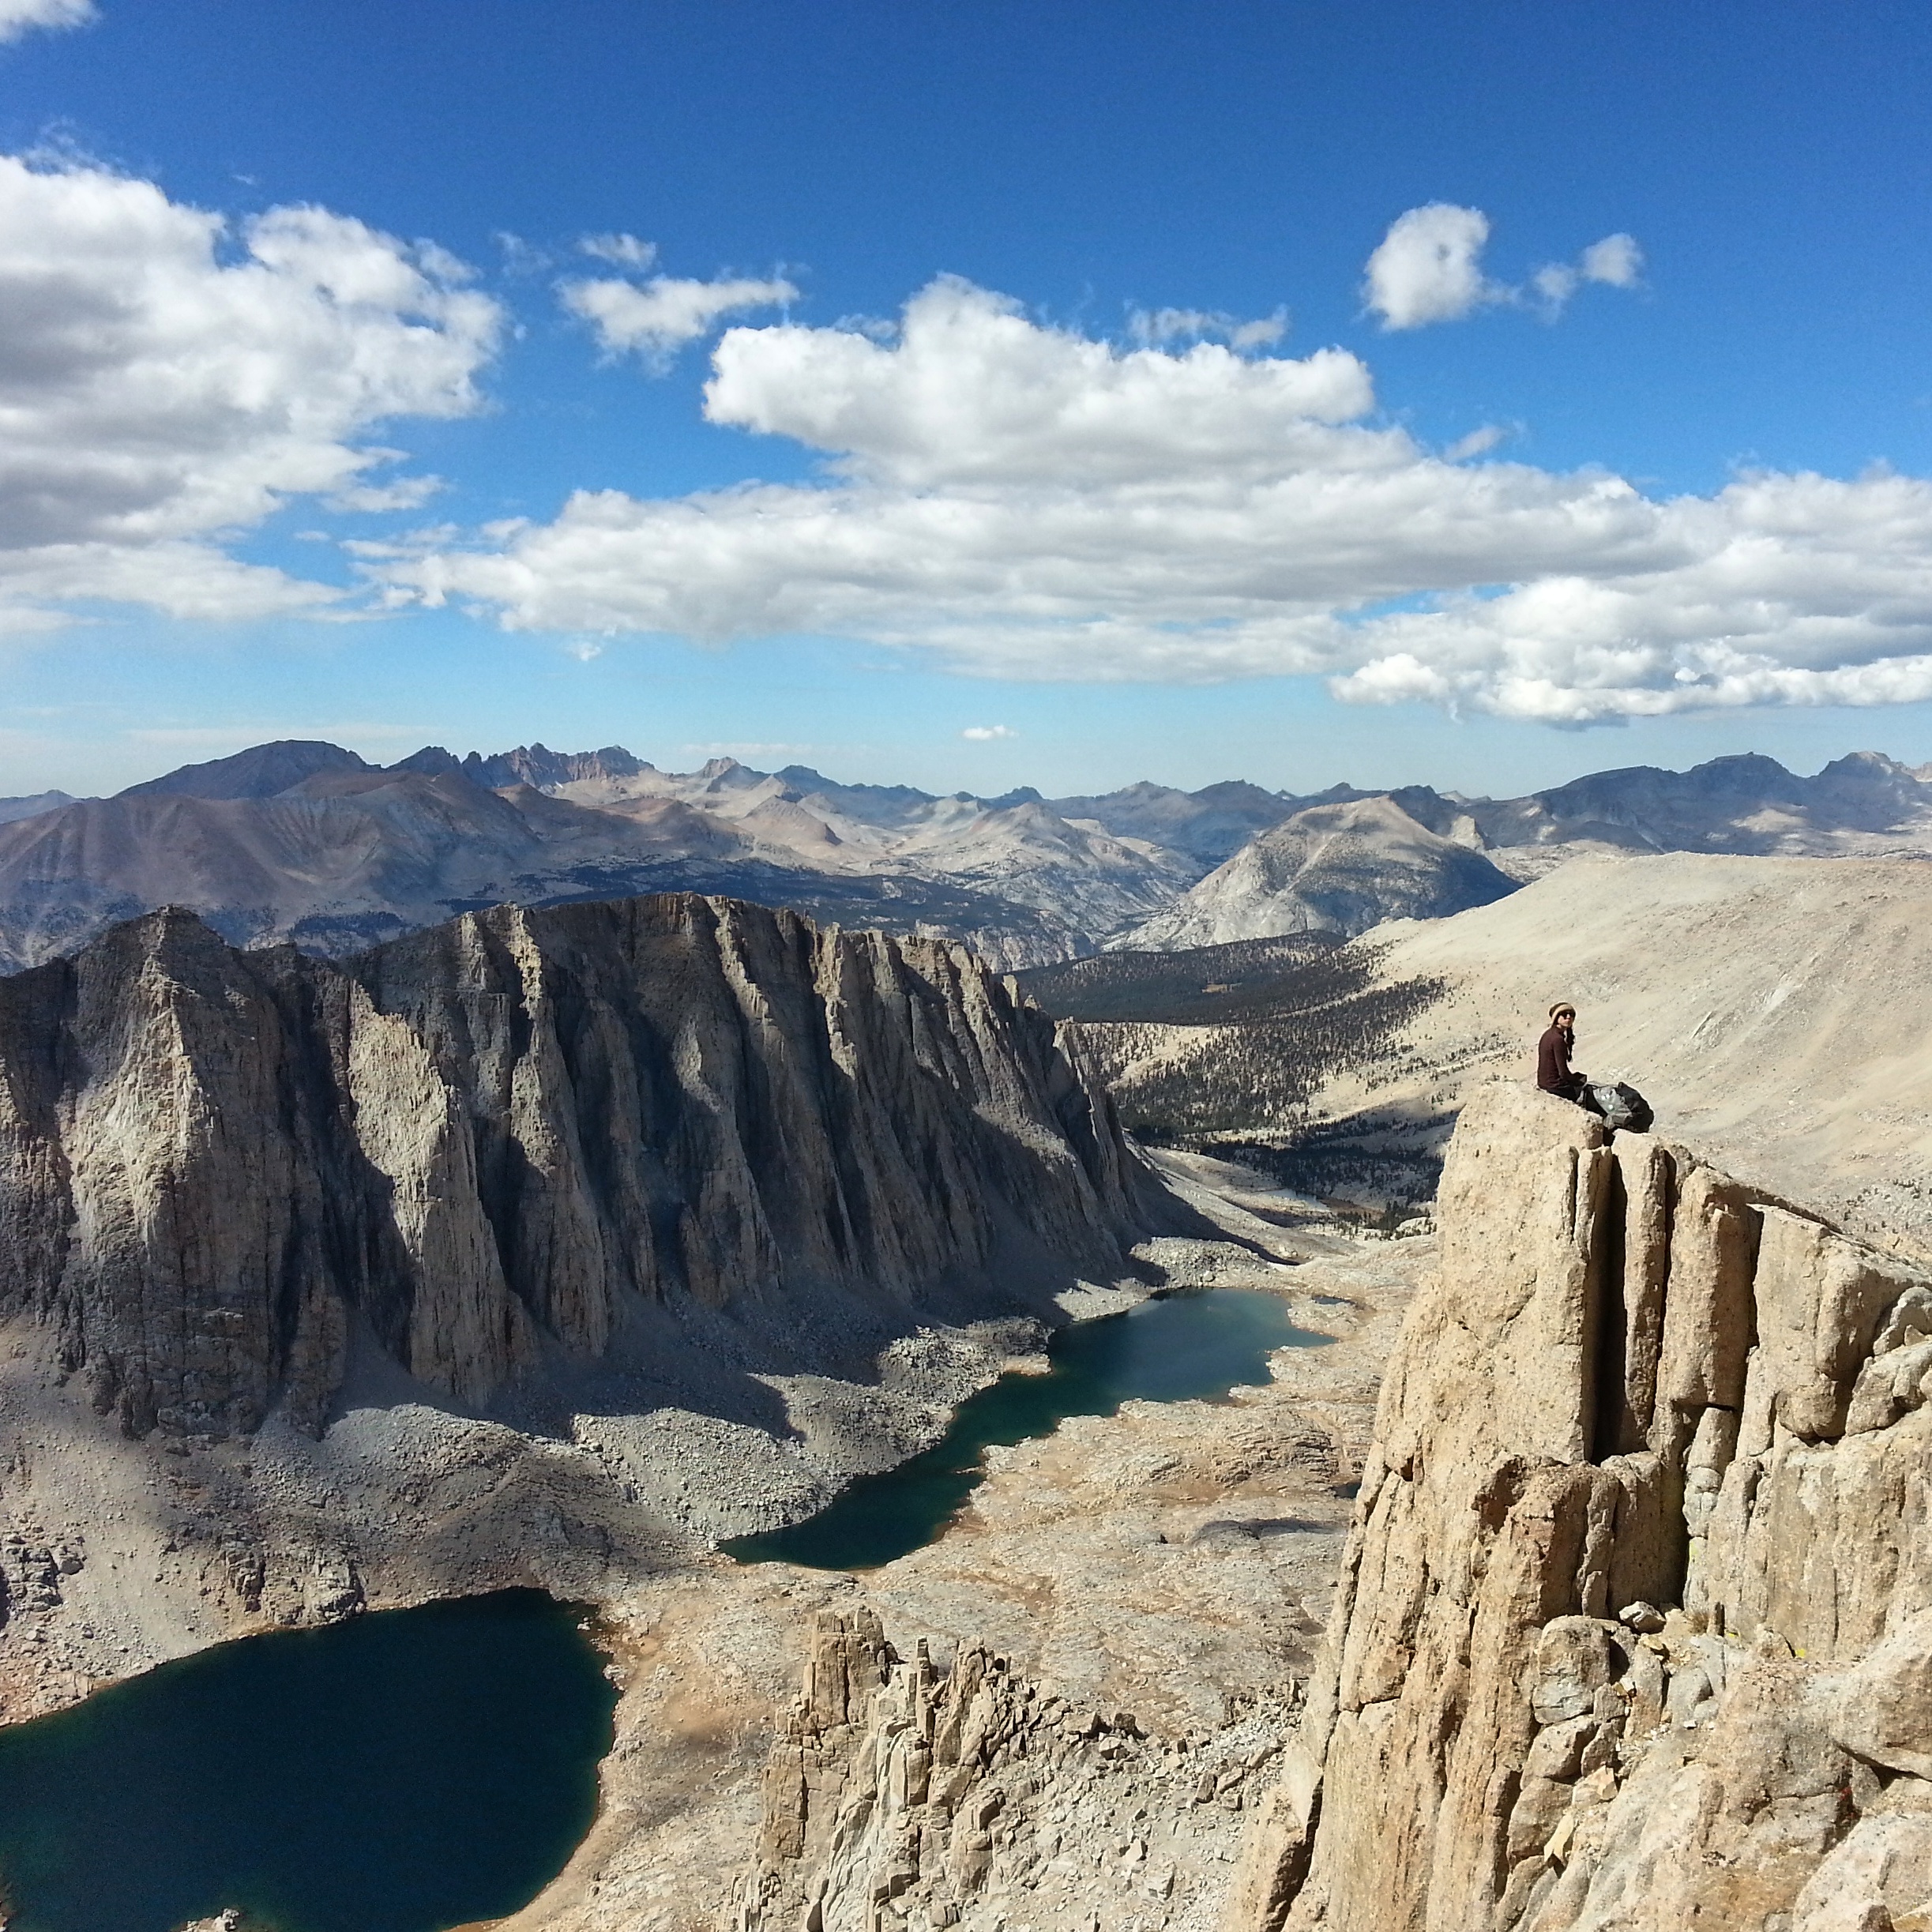
Morning light hitting the High Sierras, as seen from the crest of the Inyo Mountains
In the first week of October, 2014, I hiked the Lowest to Highest Route with my friends Chance and Jess. Most of our info for this hike came from this source, which is a website created by Brett “Blisterfree” Tucker, the person who developed the route. This site has almost everything one needs. Recently I’ve gotten a couple of emails from hikers who are lookin to do the L2H. I remember how hard it was to find info online when I was planning for this trip, and so I’m writing this to share some helpful tips and cover some things that aren’t already covered elsewhere on the internet.
Remember- most of your basic info on this route is here.
My day-by-day journal of the hike is here.
Chance’s journal is here.
The 135 mile hike took us six days. This mileage meant that we were only about two days between each resupply, and our packs were pretty light. This was helpful for times when we had to carry lots of water weight.
Look up online trip reports. Use The Google for this. There are only a handful, but there may be new ones now and then. Reading them all will help you get a better feel for the route.
Maps. The simblissity website has a navigation pack you can buy.
I downloaded the Gaia GPS app to my phone, which cost $20, and then I downloaded the GPS track from the simblissity website to my computer. I then uploaded the track to the Gaia GPS cloud, which then synced it to the app on my phone. I then downloaded, while in the Gaia app, the maps surrounding the track so that I could use them offline. I now had, on the Gaia app, both topo maps of the area that would load without cell service and a red line going through these maps- the GPS track for the L2H. I also carried the paper maps.
Call the Furnace Creek visitor’s center the week before you go, and ask them about each of the water sources. There are only a couple of water sources on the 135 mile route, and all of them may not be running at all times. If you count on one and it’s not there, you’re kind of fucked.
The rangers at the visitor’s center will likely try and discourage you. The ranger I talked to on the phone told me over and over, when I asked for info about the water sources, that she didn’t think I should do this hike. I tried to explain to her that the three of us had a combined 5,600 miles of desert hiking experience and that we had excellent maps, but it was to no avail. I finally said “I don’t actually care if you think I should do this hike. I’m just looking for info on whether the water sources are running.” at which point she gave me the contact info for another ranger who had info on the water sources. This ranger was super friendly, and did not act as though I was insane.
walking out into the desert to die
The first week of October is the best time to do this hike- Death Valley has begun to cool down but there’s likely not yet snow on Mt. Whitney. The L2H has been done in spring (a good trip report is here). As far as I know, the major difference between a spring and fall hike is the snow level on Mt. Whitney. Swami & gang took the mountaineer’s route to the summit on their spring hike. You can find info on the snow level on Mt. Whitney here, and weather reports for the summit here.
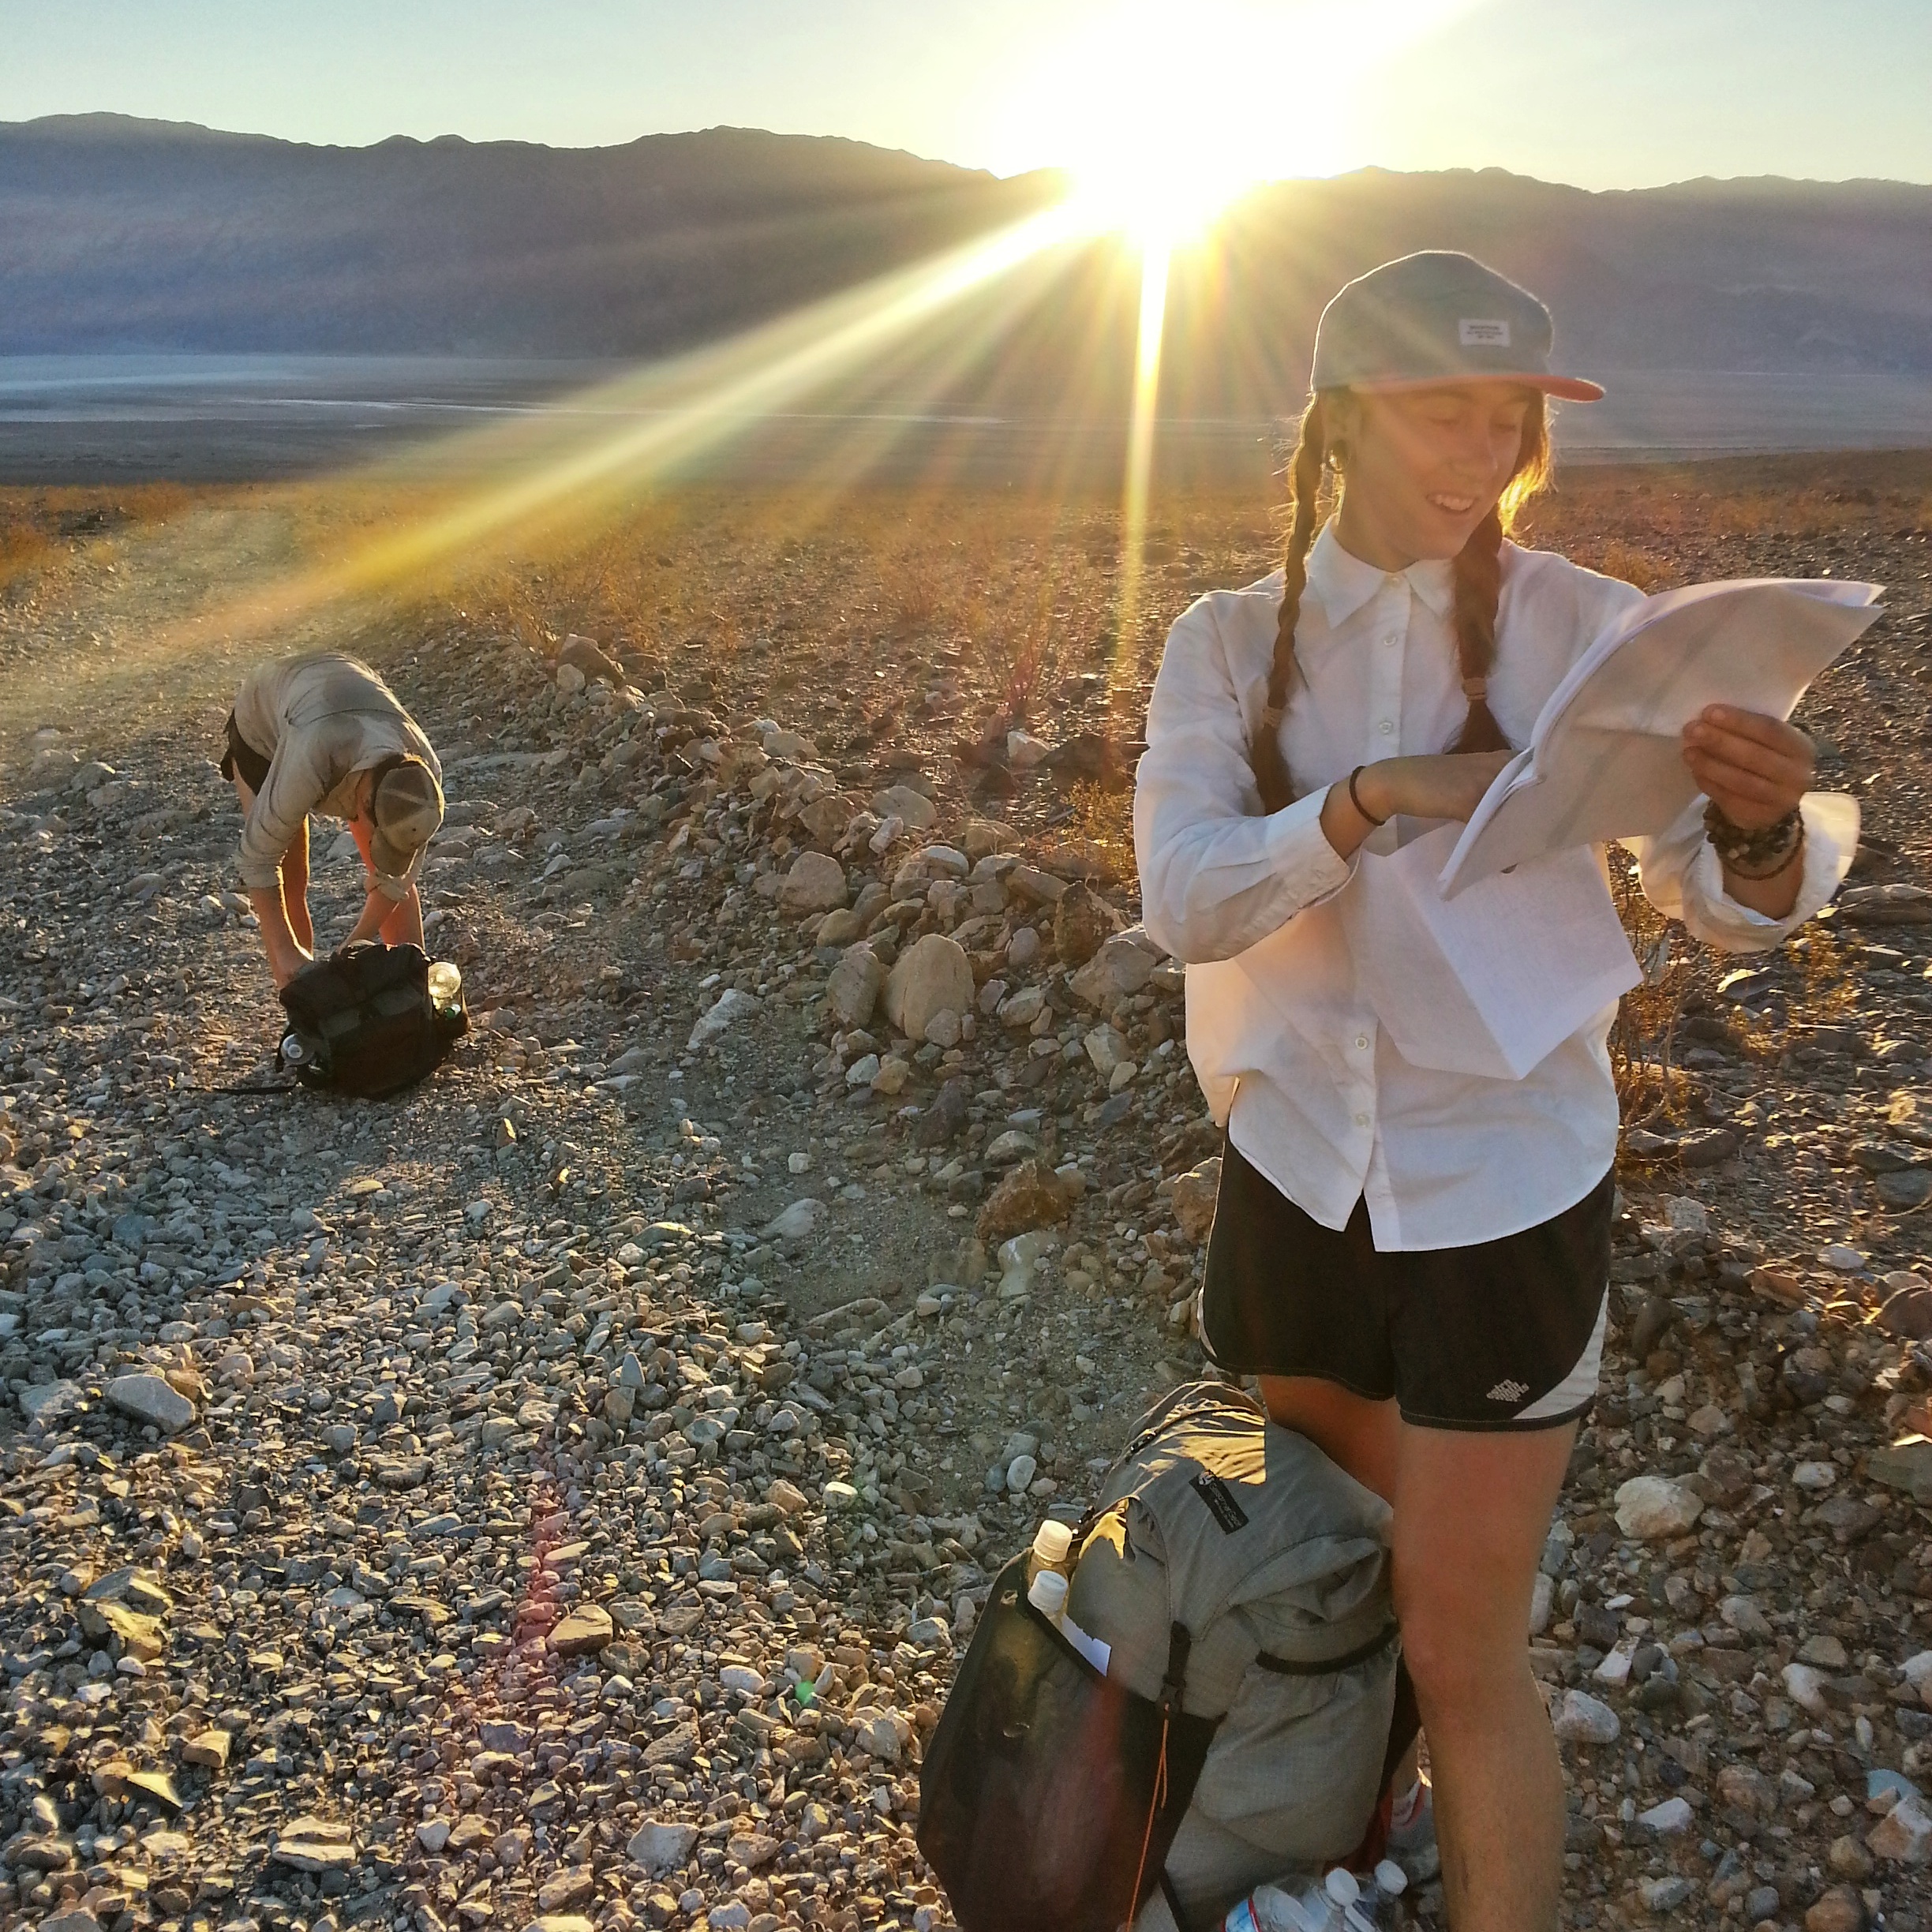
Jess and Chance- morning navigation near Shorty’s well
If you haven’t done much overland navigation, as I hadn’t before this trip, you should know that overland navigation is much slower than hiking on a trail. We averaged between one and two miles an hour for much of this hike. In order to hike 20+ mile days we consumed lots of caffeine and didn’t sleep a whole lot.
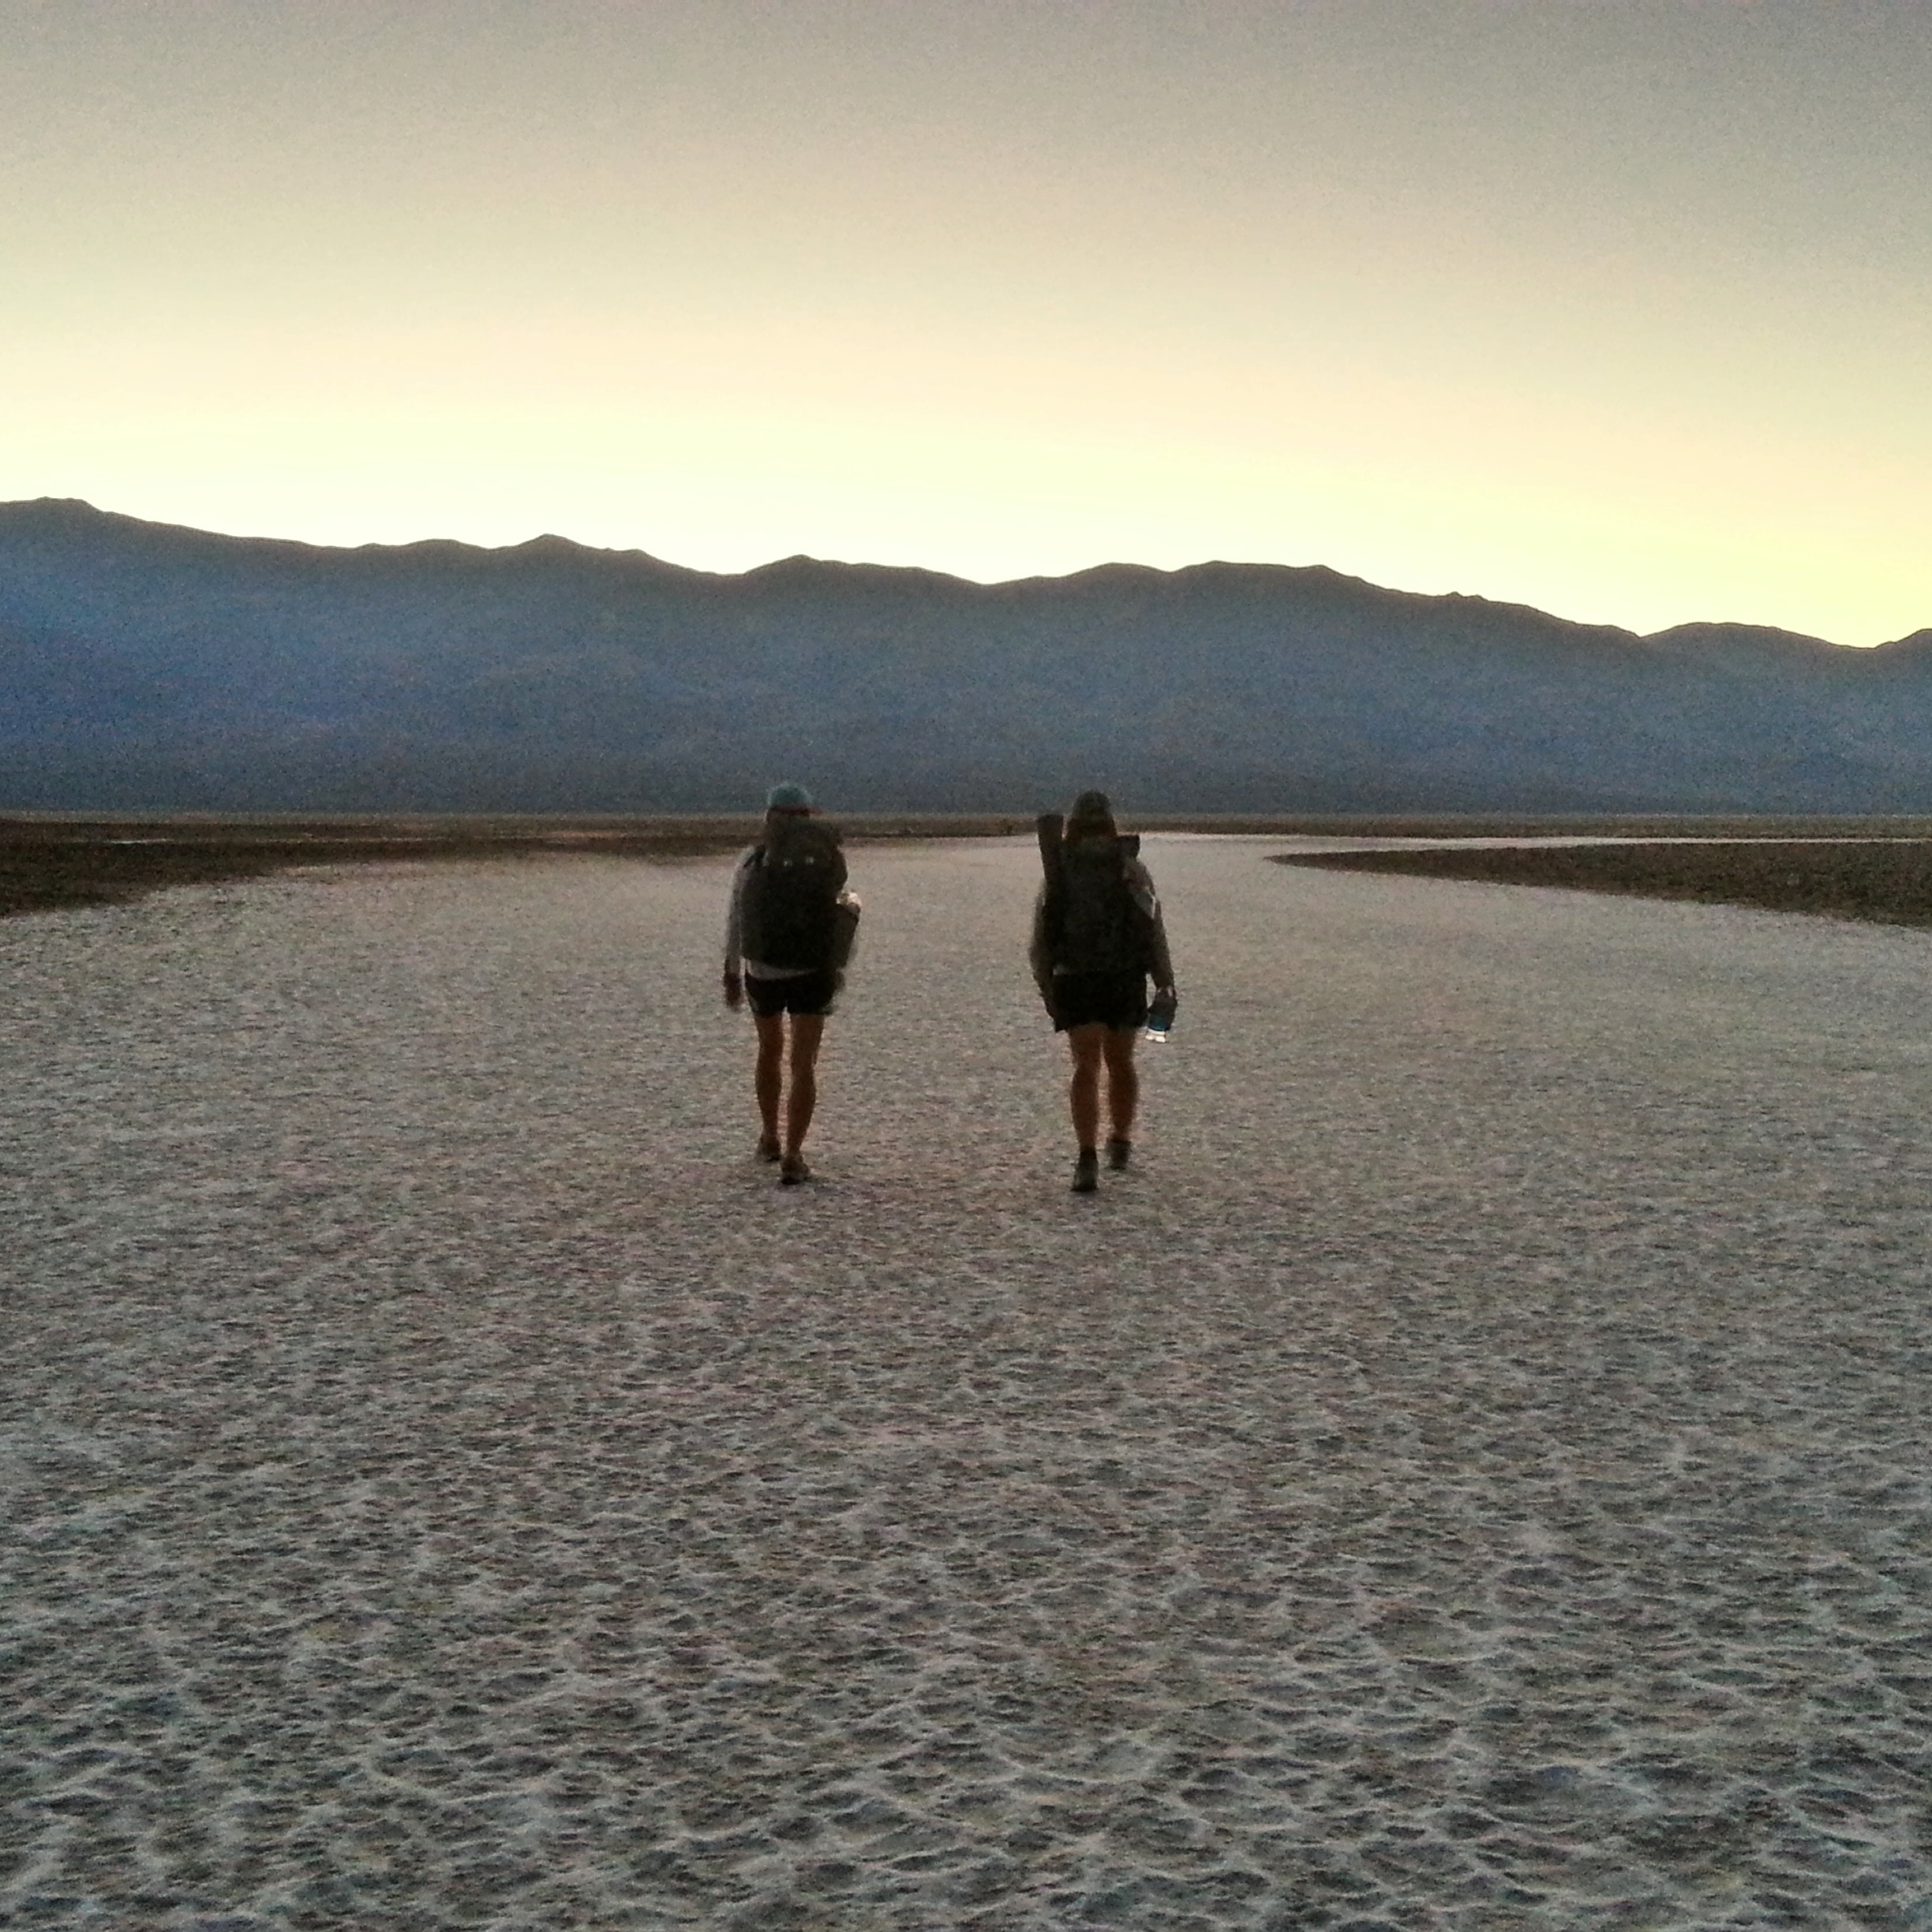
The salt flats in Badwater Basin are SHARP AS FUCK. They’re also really awkward to walk on. Take your time crossing them, and try not to trip and fall. I tripped and ended up cutting up my face, hands, and getting a pretty good puncture wound in my knee. Brutal!

ouch
After finding the spring in Hanaupah canyon, climb up the slope to your right, towards the ridge. You’re going to get up on top of that ridge and follow it to Telescope ridge. Pay attention to navigation here.

The climb out of Hanaupah canyon
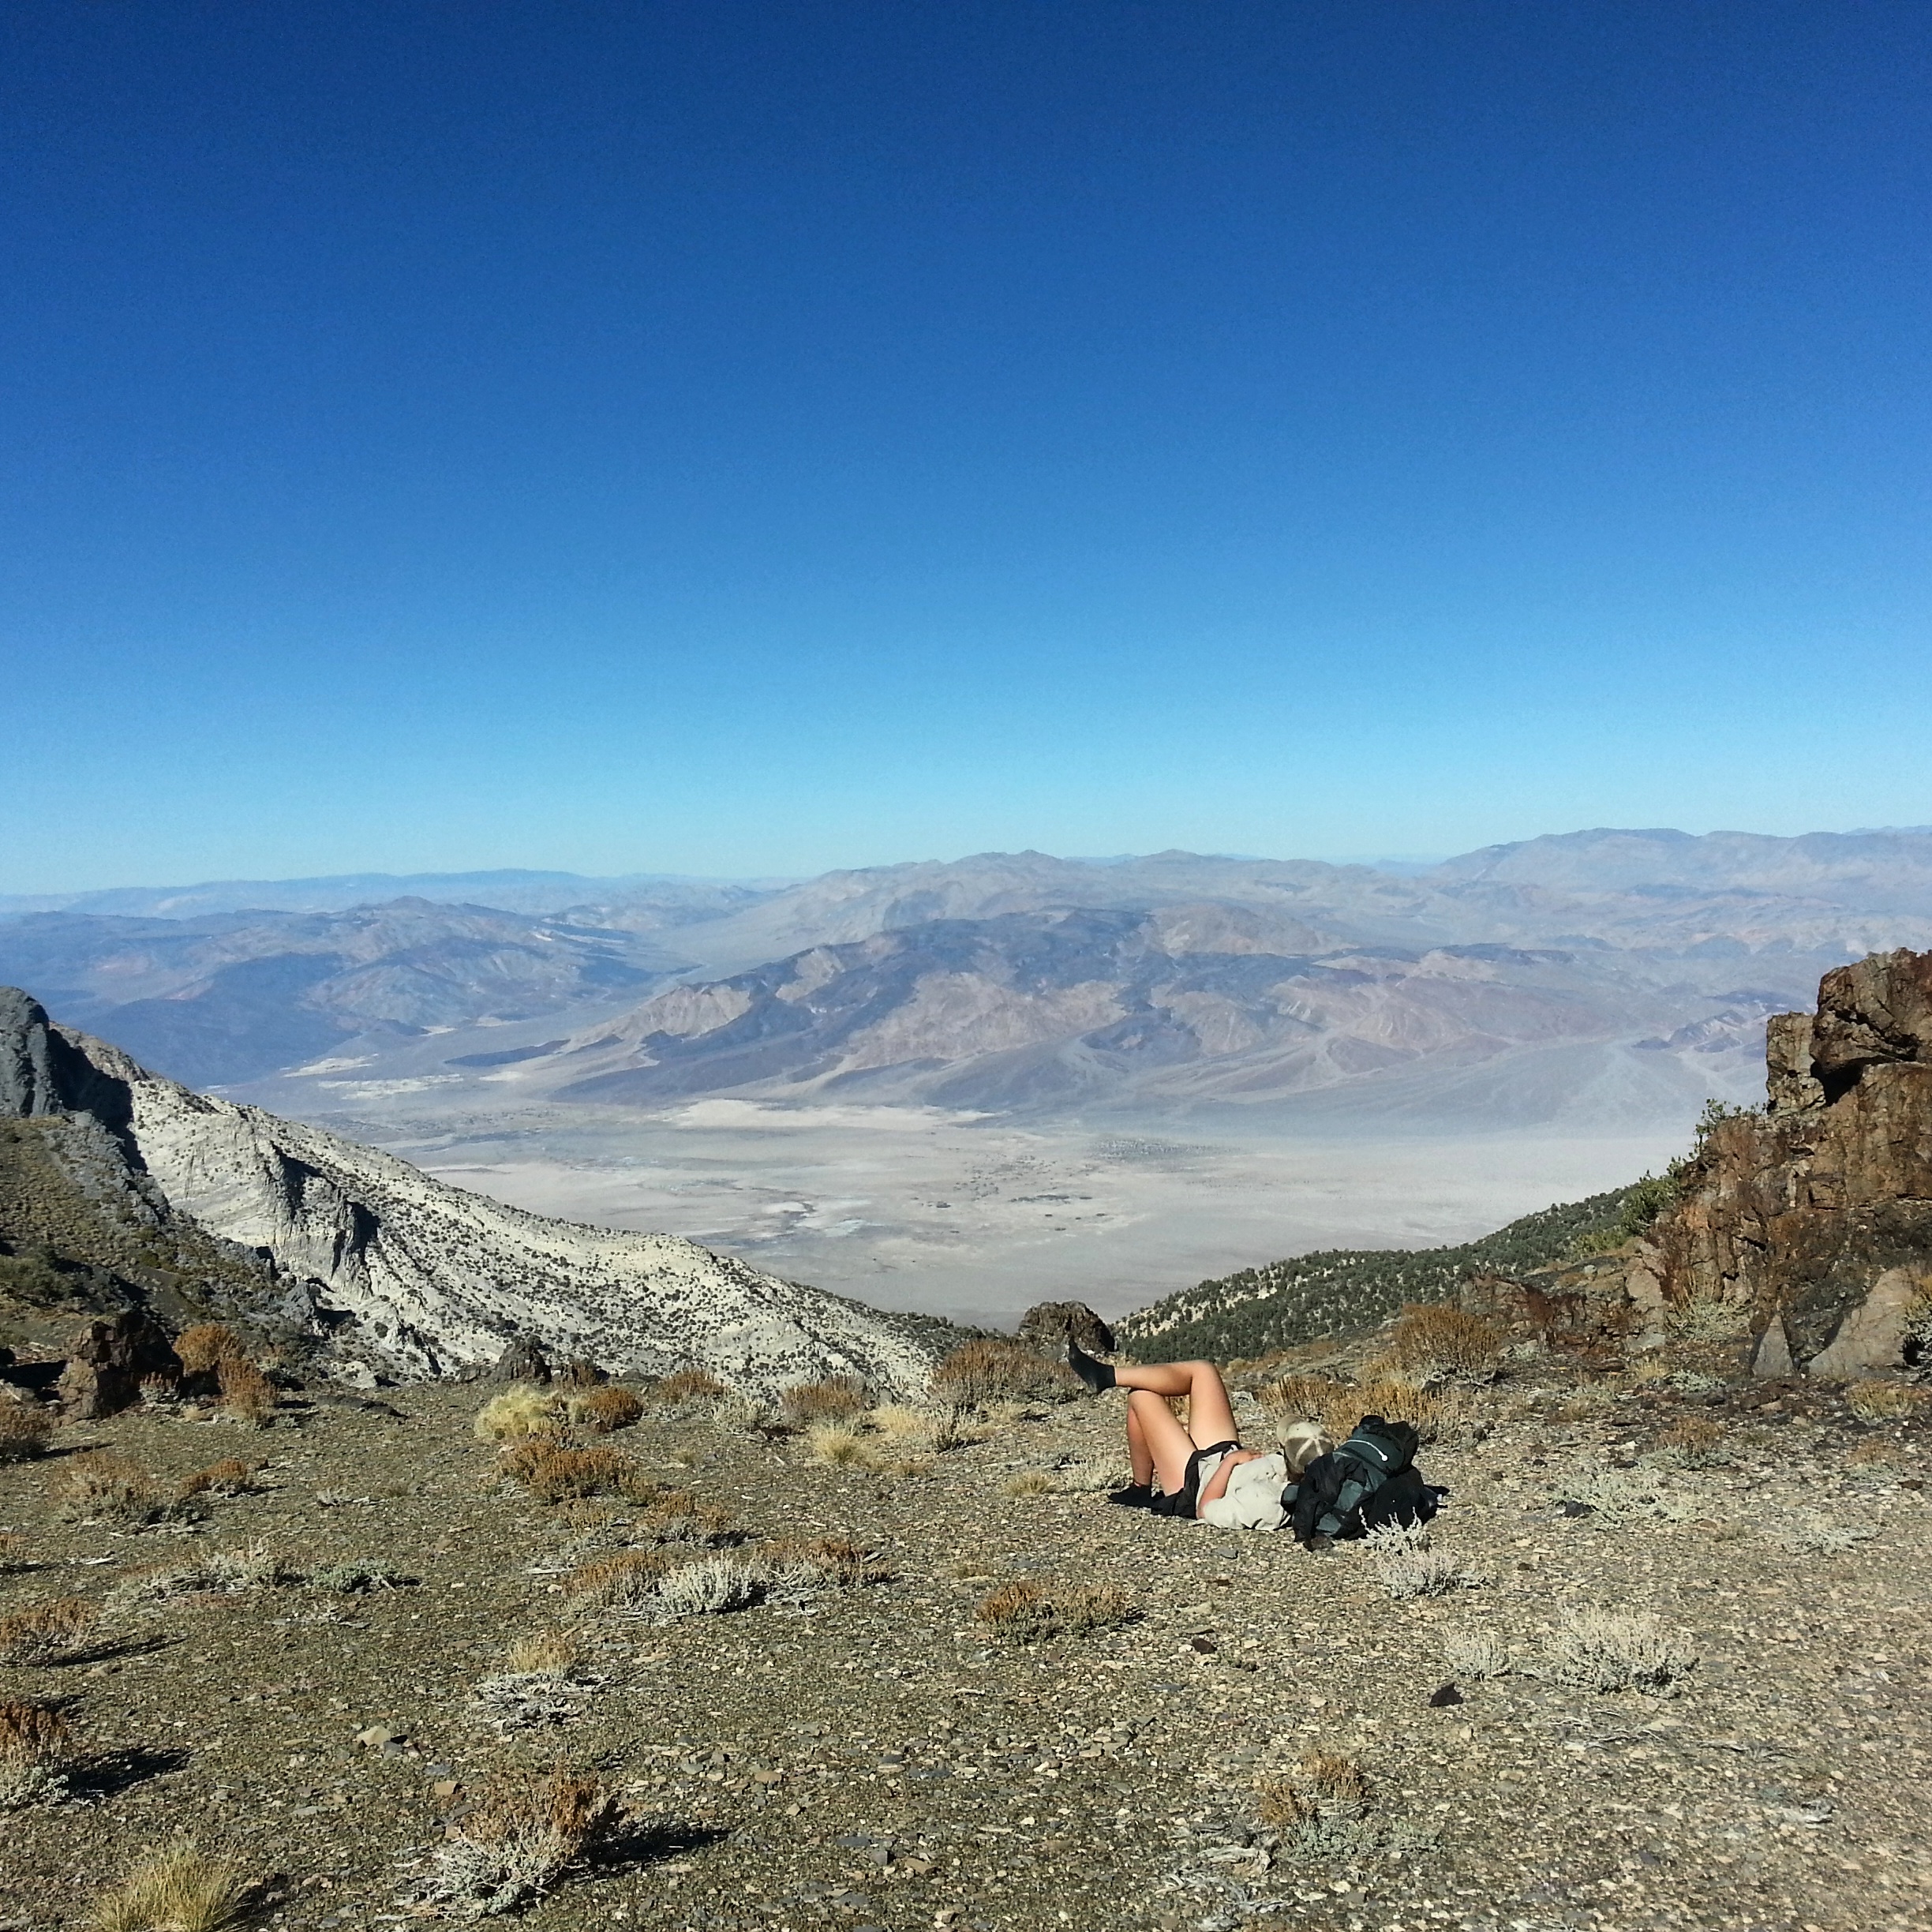
The climb up to Telescope ridge is really steep- 10k feet in 14 miles. It’s the third steepest climb in the US, and it was the steepest climb that any of us had ever done. Factor in lots of time for this climb. The neat thing is that as you climb you enter cool, shady pinyon forest, and leave the heat of the valley behind. It’s really pleasant up there! Once on the ridge it’s another thousand feet to the summit, which is not part of the route. Chance and I opted to collapse in the sun for a while. Jess went to the summit, and said it was pretty cool.
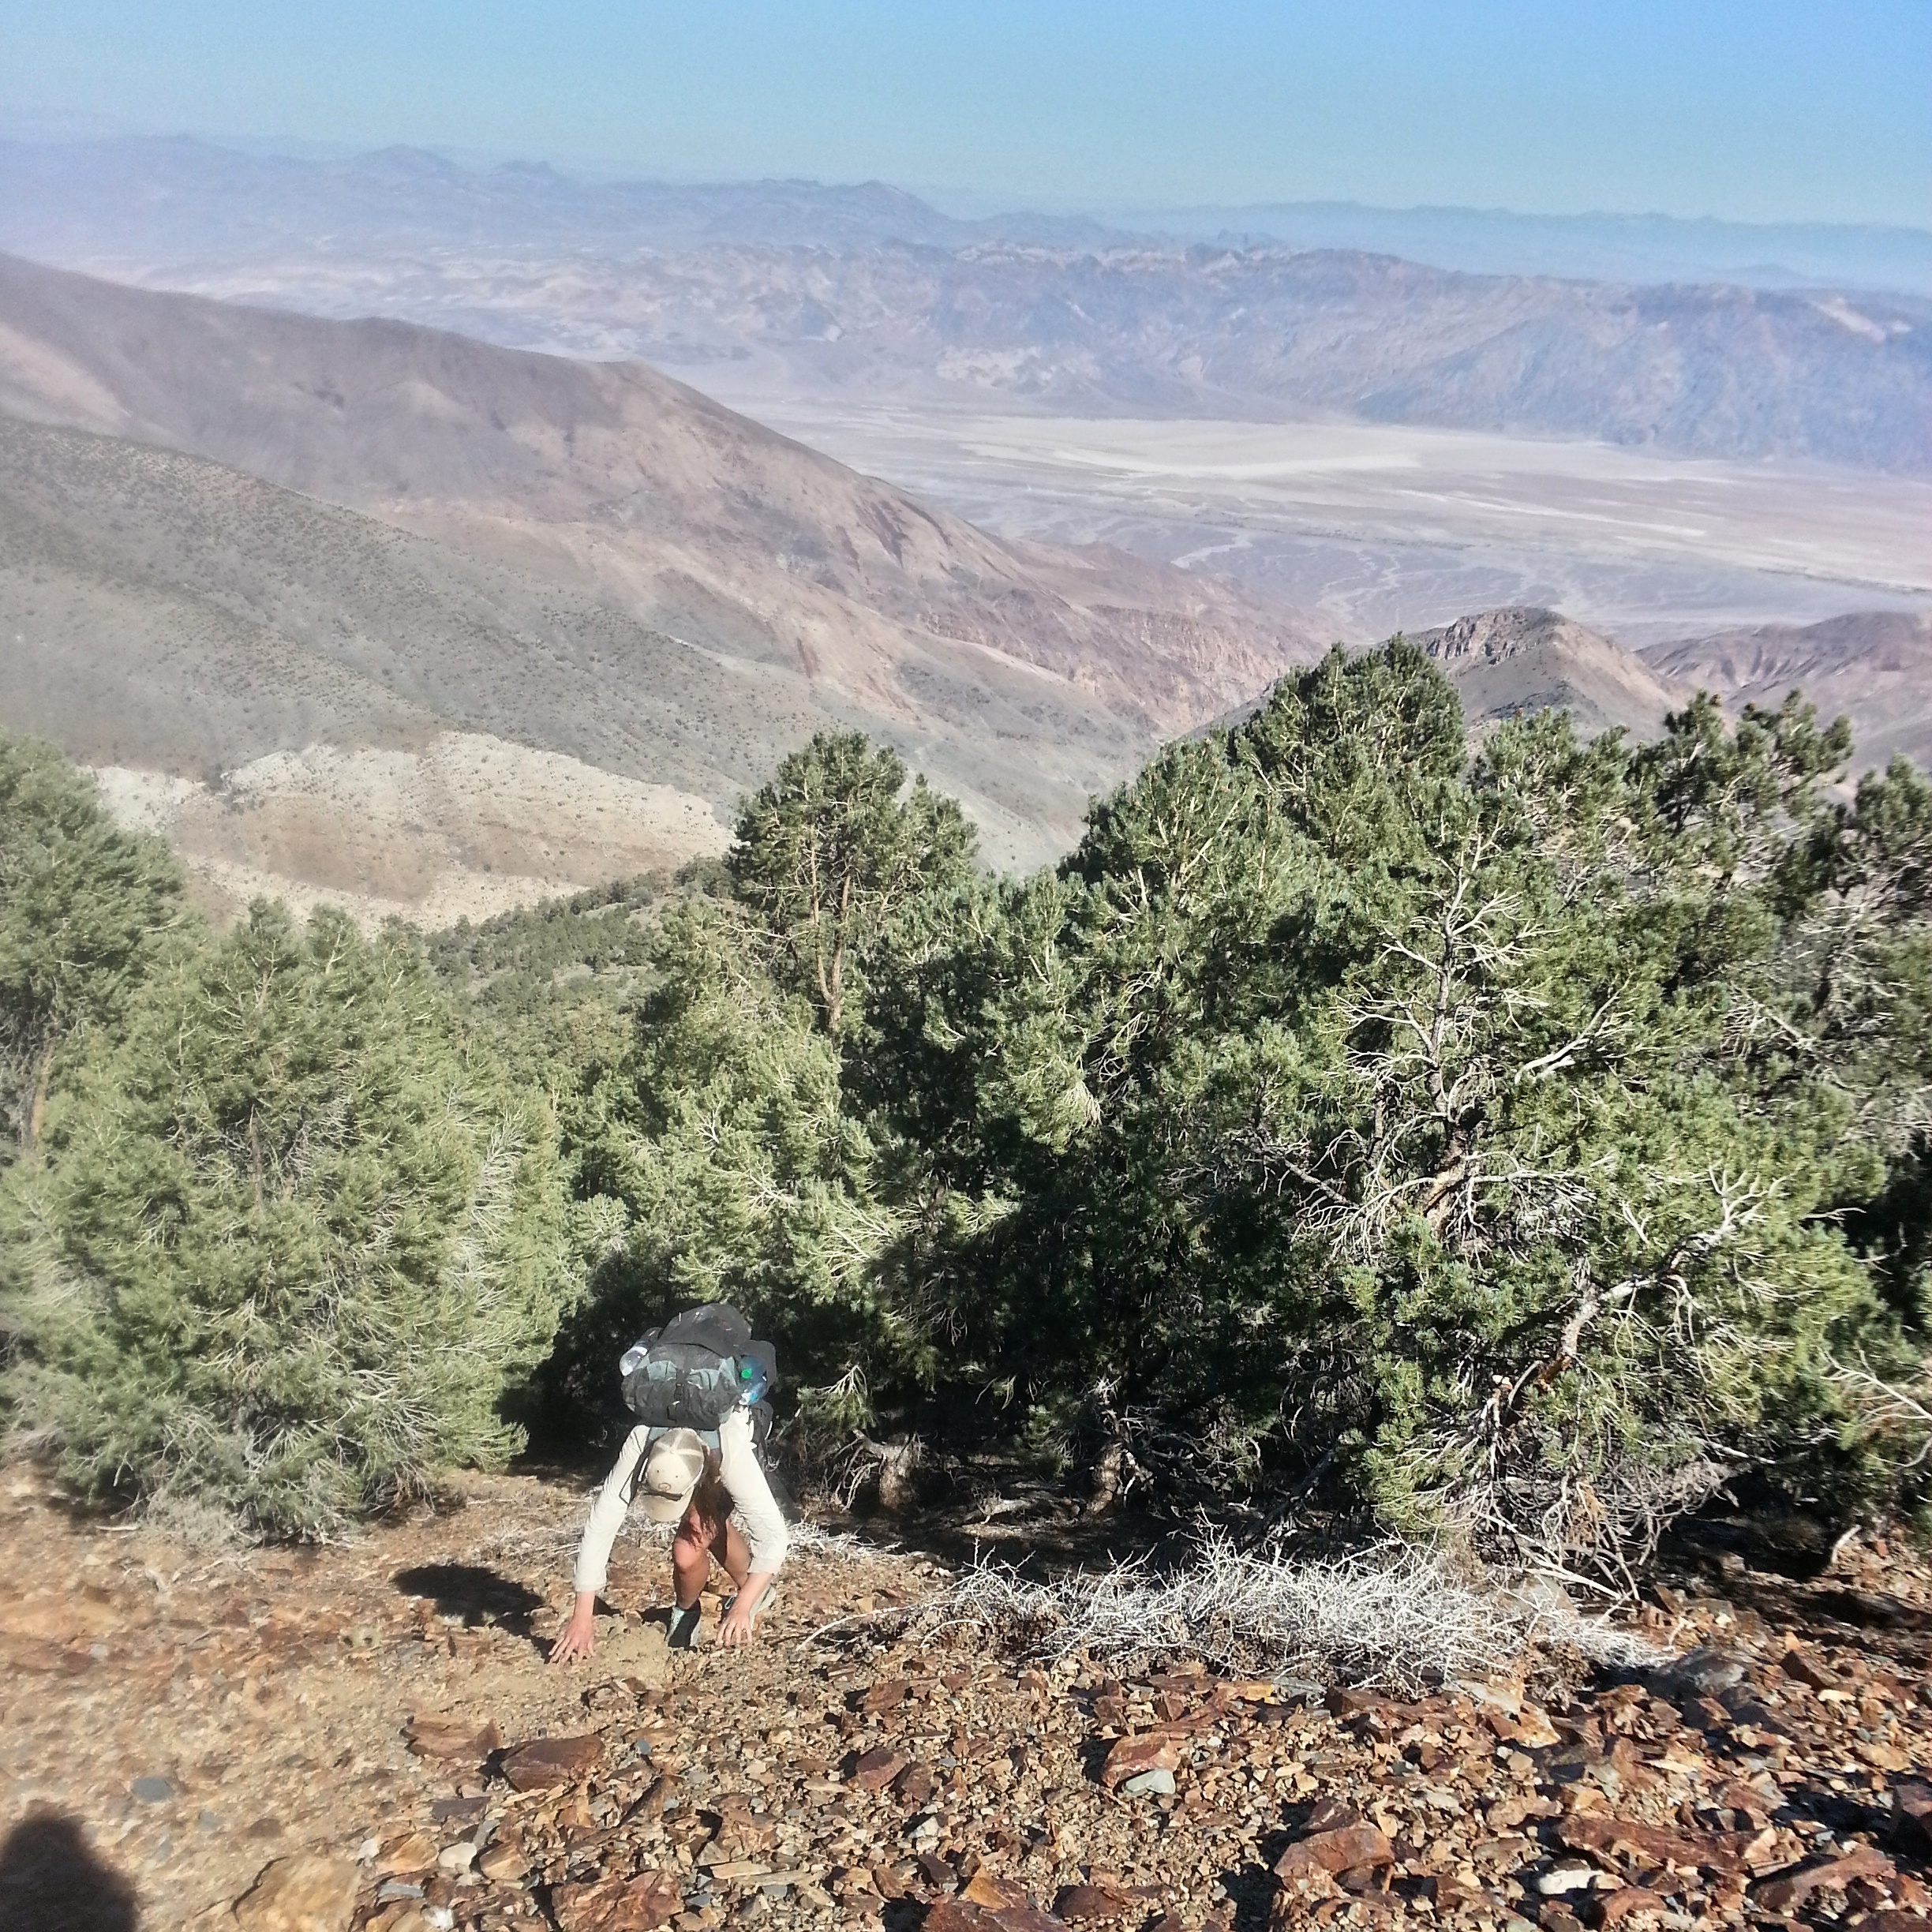
Chance on the climb up to Telescope Ridge
The springs in Tuber Canyon on the descent from Telescope Ridge are kind of tricky to find. Use your super-sleuth ninja skills, and carry extra water. One of the springs is tucked away in dense brush at the very beginning of the canyon, Another one is a few miles down the wash, next to a big cluster of trees. Check with the rangers before your hike to see if either of these is running.

Looking down from Telescope ridge towards the valley we’ll traverse next
.

Jess finds a bighorn sheep skull in Tuber Canyon
Don’t cook to death while crossing the playa before Panamint springs, and bring plenty of water. The walking is easy in this valley but unless you’re night-hiking, be careful and take it slow. It was 110 degrees the day we crossed, and although I had a sunbrella and enough water, I ended up with a touch of heat exhaustion, which left me feeling off for a few days afterward.

crossing the playa
Panamint Springs Resort would not let us send a resupply box to their store, nor would they let us leave food there to pick up on our way through. So I’ll pass on the bit of advice the local sheriff gave to us- “Just hide it in the desert.” We ended up stashing our resupply in the desert behind the resort, and when we passed through two days later our food was miraculously untouched. One could resupply in the small store, but it would not be fun. When we were there the store pretty much just carried marshmallows, spray-on sunscreen and one giant, $20 bag of tortilla chips.
The Panamint Springs Resort has a beautiful deserty campground where sites are $7 and come with free hot showers. Each site has a picnic table! And there are vacant RV sites nearby that have those wooden posts with outlets in them where one can charge one’s electronics. There are canvas wall tents with cots for rent too, where you’ll be protected from the wind. And there’s a restaurant with burgers at the resort. Glory!
Darwin Falls is cool but there’s nowhere to camp- just a small flat spot next to the water, with tourists coming and going.

Darwin Falls
One gets out of Darwin Falls by climbing straight up the cliff. No, your maps are not lying to you. This is, according to someone who knows more about these things than I do, a class four rock scramble. Give yourself lots of time, be careful, and go slow. Look for cairns and bits of bighorn sheep trail. There is a way to the top of the canyon. There are also lots of dead ends. It took us a couple of hours to traverse the half mile out of the canyon.
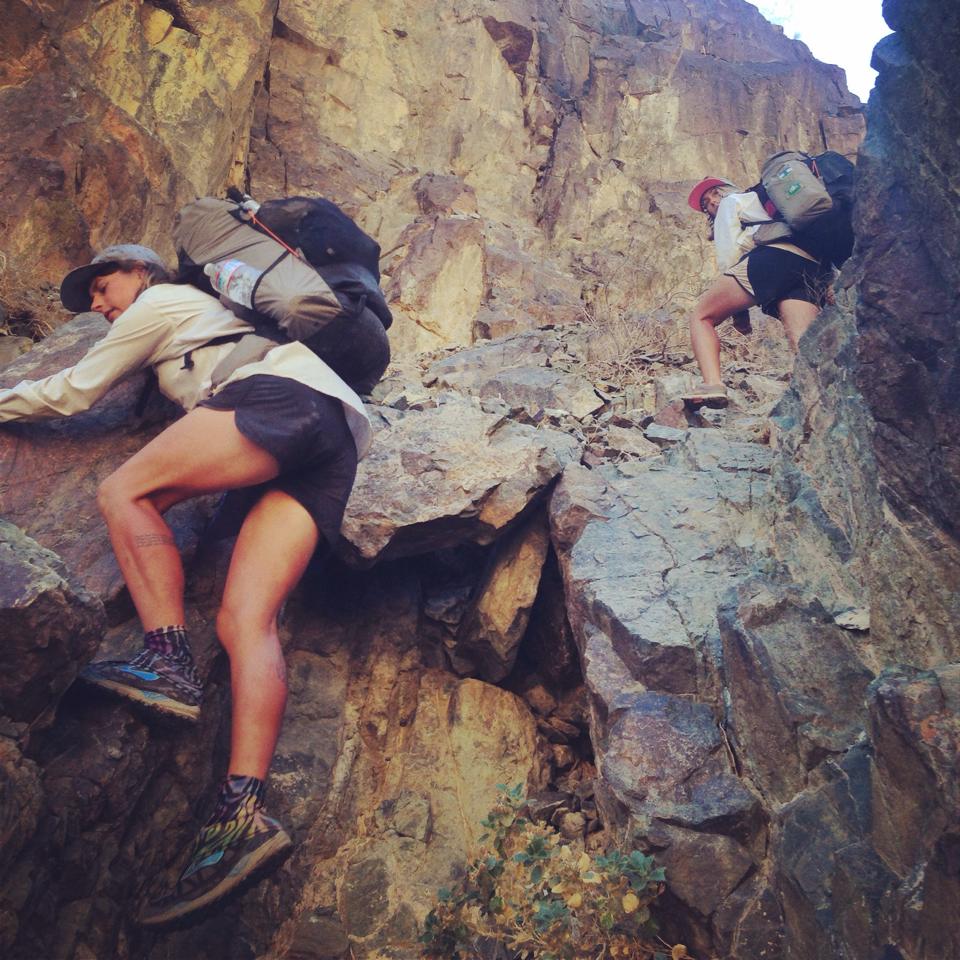
Rock climbing, basically.
If I did the hike again, I would spend a night at China Garden Springs. I think I’d have enchanted dreams, and some sort of magical ghost would visit me. You’ll just have to believe me when I say that this place is really, really cool.
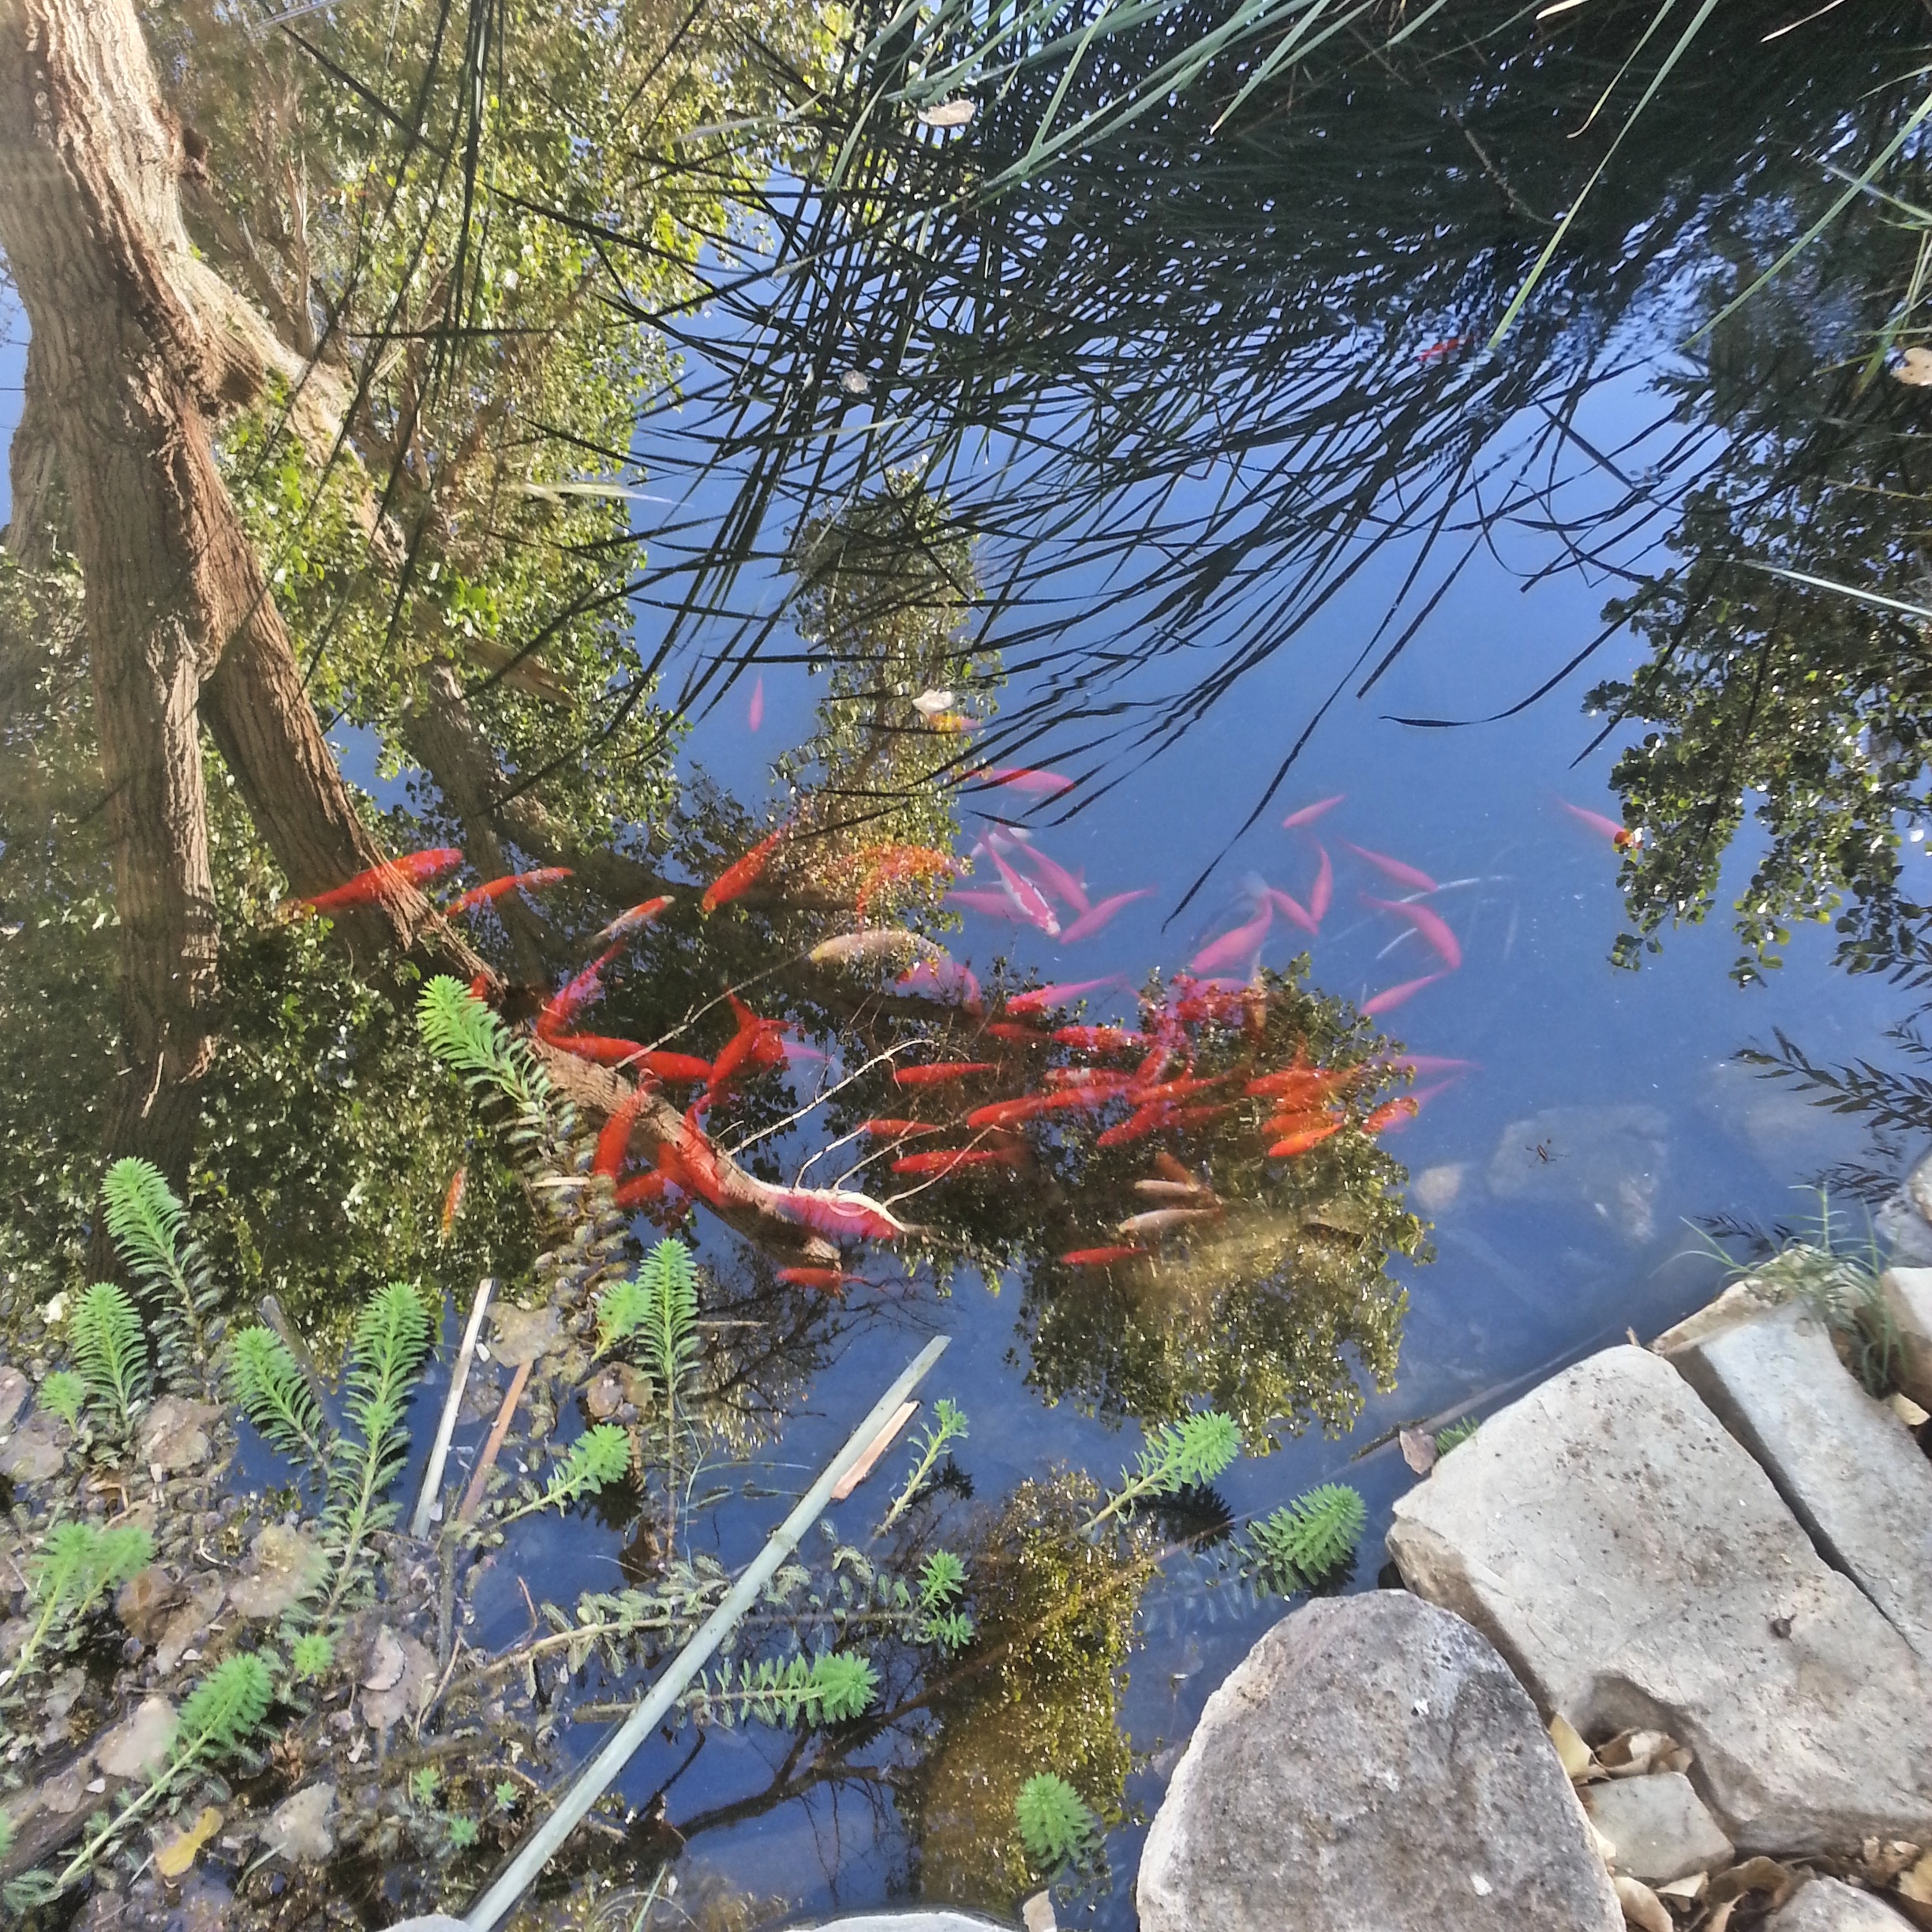
Goldfish in the spring at China Garden Springs.
You’re going to want to cache water. We cached six gallons of water (for three people) at Highway 190 where it meets Saline Valley Alternate Road. This left us with a 45-mile dry stretch between our cache and Lone Pine, with about 5k feet of elevation gain, over the Inyo mountains in the heat. We each carried six liters from our cache. In the end this was not enough water for me. I ended up finding water at the ghost town of Cerro Gordo, on the crest of the Inyo mountains. This is NOT, however, a reliable water source. Most days the buildings are empty, and the day we were there the caretaker just happened to be there, giving a tour, and he shared his water with us. If I were to do the L2H again I’d leave a second water cache further up Saline Valley Road, right before it begins the climb into the Inyo mountains.

Chance just casually traversing some desert wilderness
.

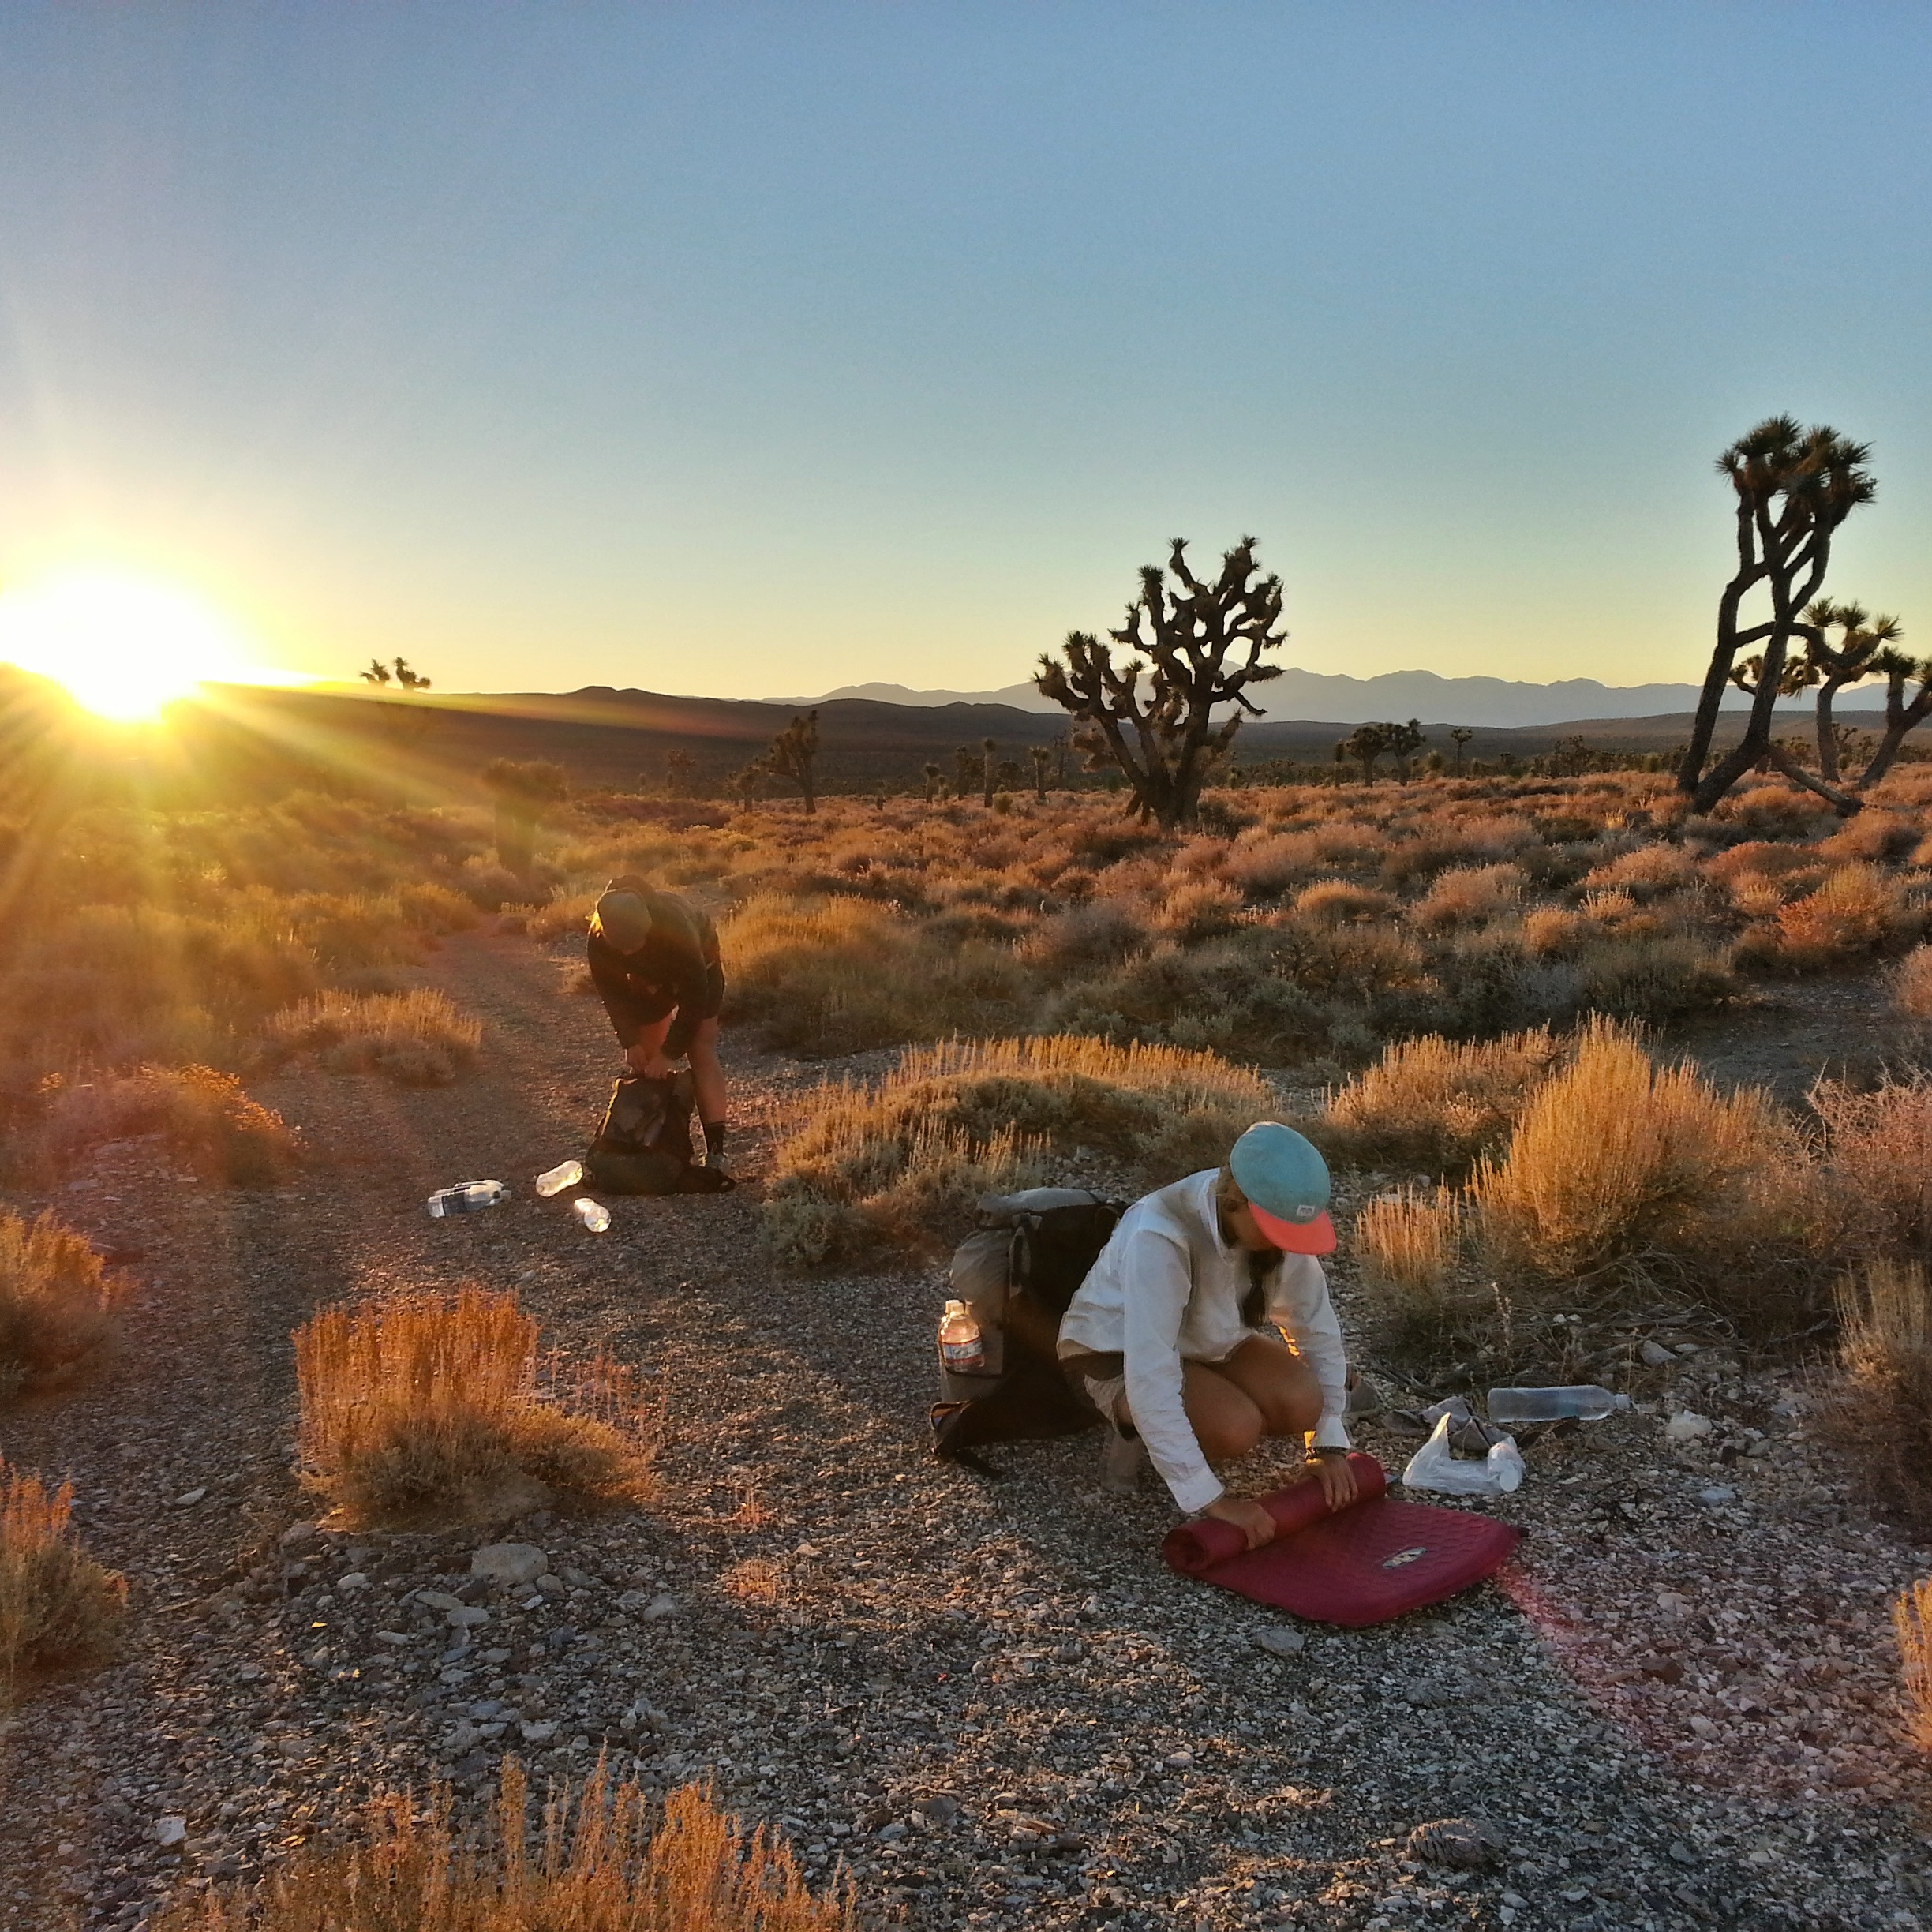
Jess makes coffee for everyone at our cache. Time to night-hike!
.
Morning.
.

On the crest of the Inyo mountains, grabbing the moon
.
Chance surveys our desert kingdom.
.
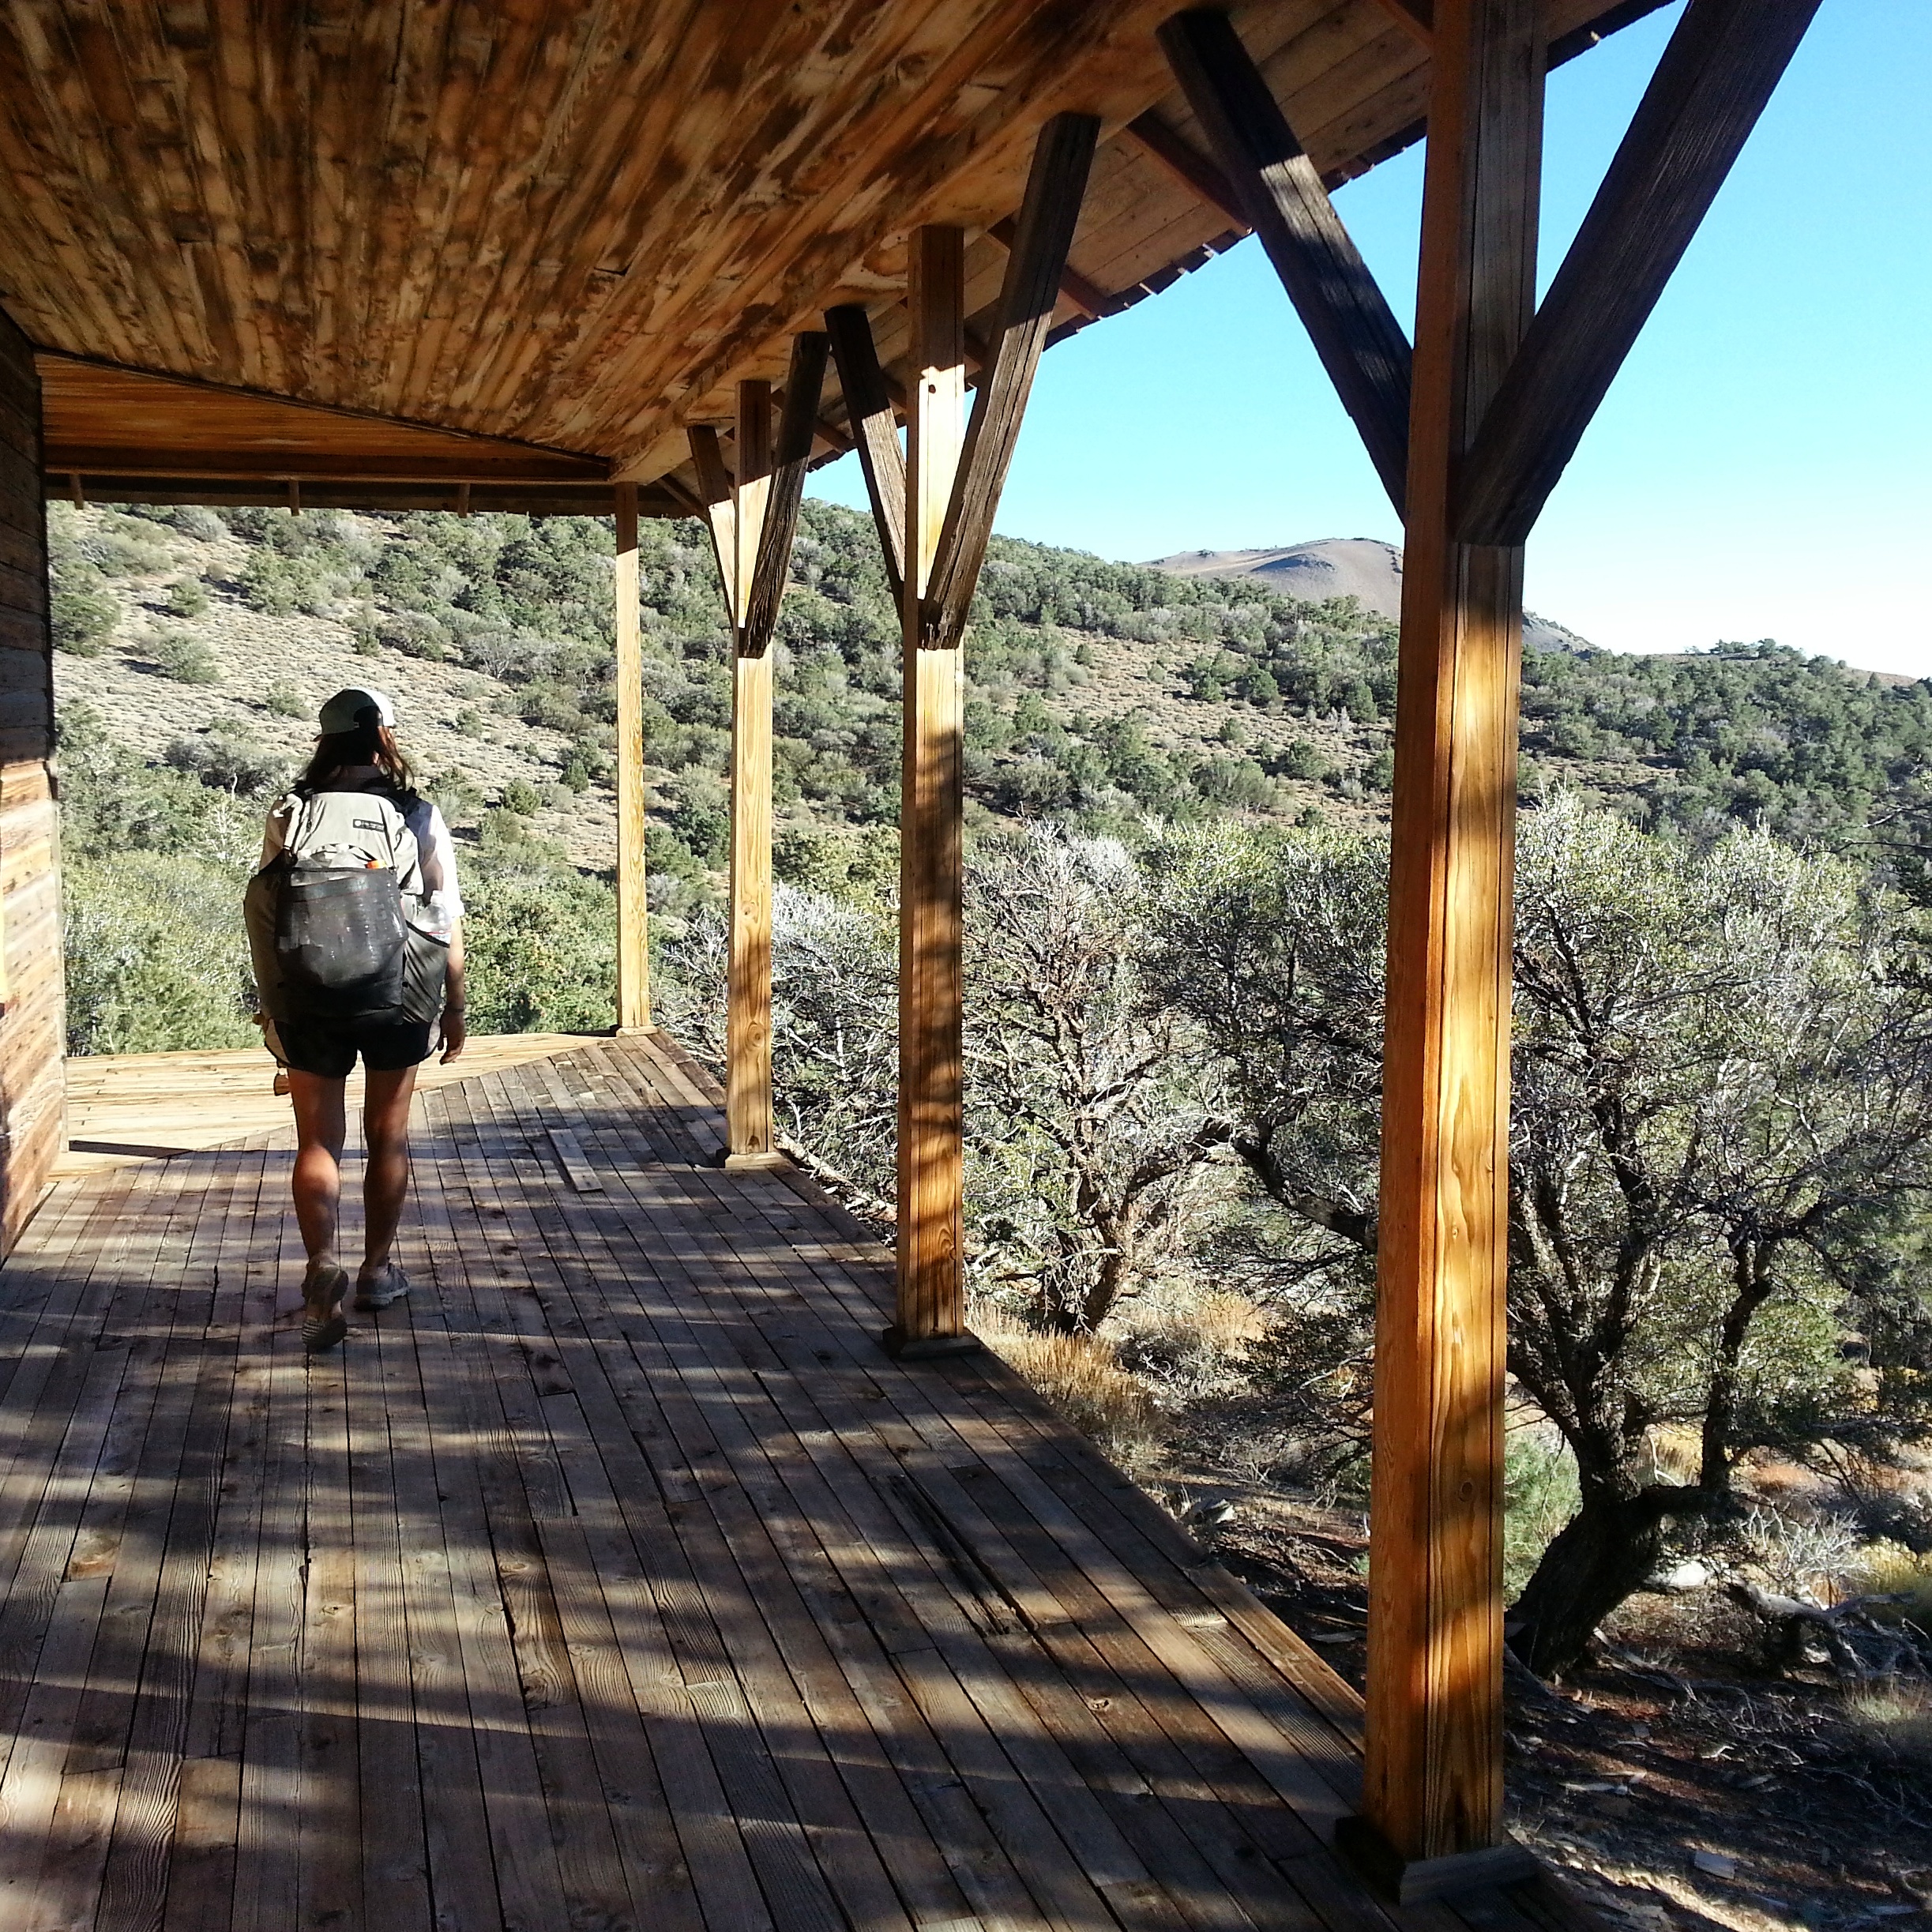
The old salt tram caretaker’s cabin in the Inyo Mountains
.

In yo Mountains, watchin yo sunset.
Lone Pine has a grocery store. The grocery store is small and not very well stocked. There’s a store on the first floor of the hostel that carries backpacking-specific food- tuna packets, bars, things like that. The hostel is nice. The Alabama Hills Cafe has massive portions of excellent, greasy-as-fuck hiker food. There are like seventeen gear stores in town.
Permits for Mt. Whitney can be found at the Eastern Sierra Interagency Visitor’s Center just outside of Lone Pine. The permits are free in person, and during spring and fall it’s doubtful that you’ll have to wait for one. There’s also a cool relief map of the Sierras at this visitor’s center that every PCT hiker should see. And neat patches and bandannas!
The roadwalk out of Lone Pine up the Whitney Portal Road was really pleasant. The sun was setting in a nice way and walking on a road just felt so fast.

best roadwalk ever
We had a bear come through our camp at the Whitney Portal campground. Make sure and put everything that smells like anything in the bear lockers.
The weather on the L2H worked out for us thusly: below 5,000 feet = warm at night, above 5,000 feet = cold at night. Be prepared for temperatures between freezing and 115 degrees.
The L2H is really special. Remember to bring a light pack and a good sense of humor, and have fun!
Jess on the climb up Mt. Whitney
.

Whitney summit! Yay!

DOOD! Thank you so much for this. I want to attempt it this year, it’s exactly my kind of hike. Hot and dry. These are some very valuable tips. You rock!
Littlepackage- you’re welcome! Absolutely contact me if u have any questions 🙂 carrotquinn4@gmail.com
Awe Cert! So happy to read this!
Chance- I miss you! Come back some day and let’s tackle some other wild hike.
I’ve been dreaming about that! Let’s do it
Yes!
Write a guide book, with personal stories.
Carrot, I could not find your comments on your latest post about needing dental work so I am using this comment section. Your cost here in the US is $2,200 for two crowns. If you went down to Mexico–Tijuana or elsewhere the cost would be about $500–$600 for porcelain crowns. I had two crowns done in Bangkok in 2005 that cost me just $500 and they still are working well and look good. Just google “cost of crowns in Mexico” and you will see lots of choices. You can hop on Amtrak to San Diego, take a streetcar to the border and walk across to Tijuana—very easy.
Hoov